321cycle
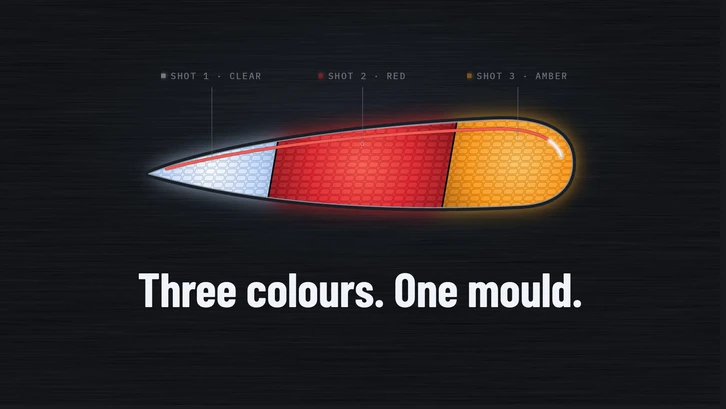
Every material goes in during one machine cycle. No second line, no hand assembly.
We build 2K and 3K moulds for parts that bring different colours and compatible materials together. Combine colour and function with fewer secondary operations.
Working together in automotive moulding.
 SAIC-GM
 Changan
 Geely
Geely Great Wall Motor
 Nissan
 Volkswagen
 Hafei
Hafei Leopaard
 Chery
Chery Mitsubishi Motors
 Jeep
Jeep Toyota
 Honda
Honda Mazda
Mazda JAC Motors
 Dongfeng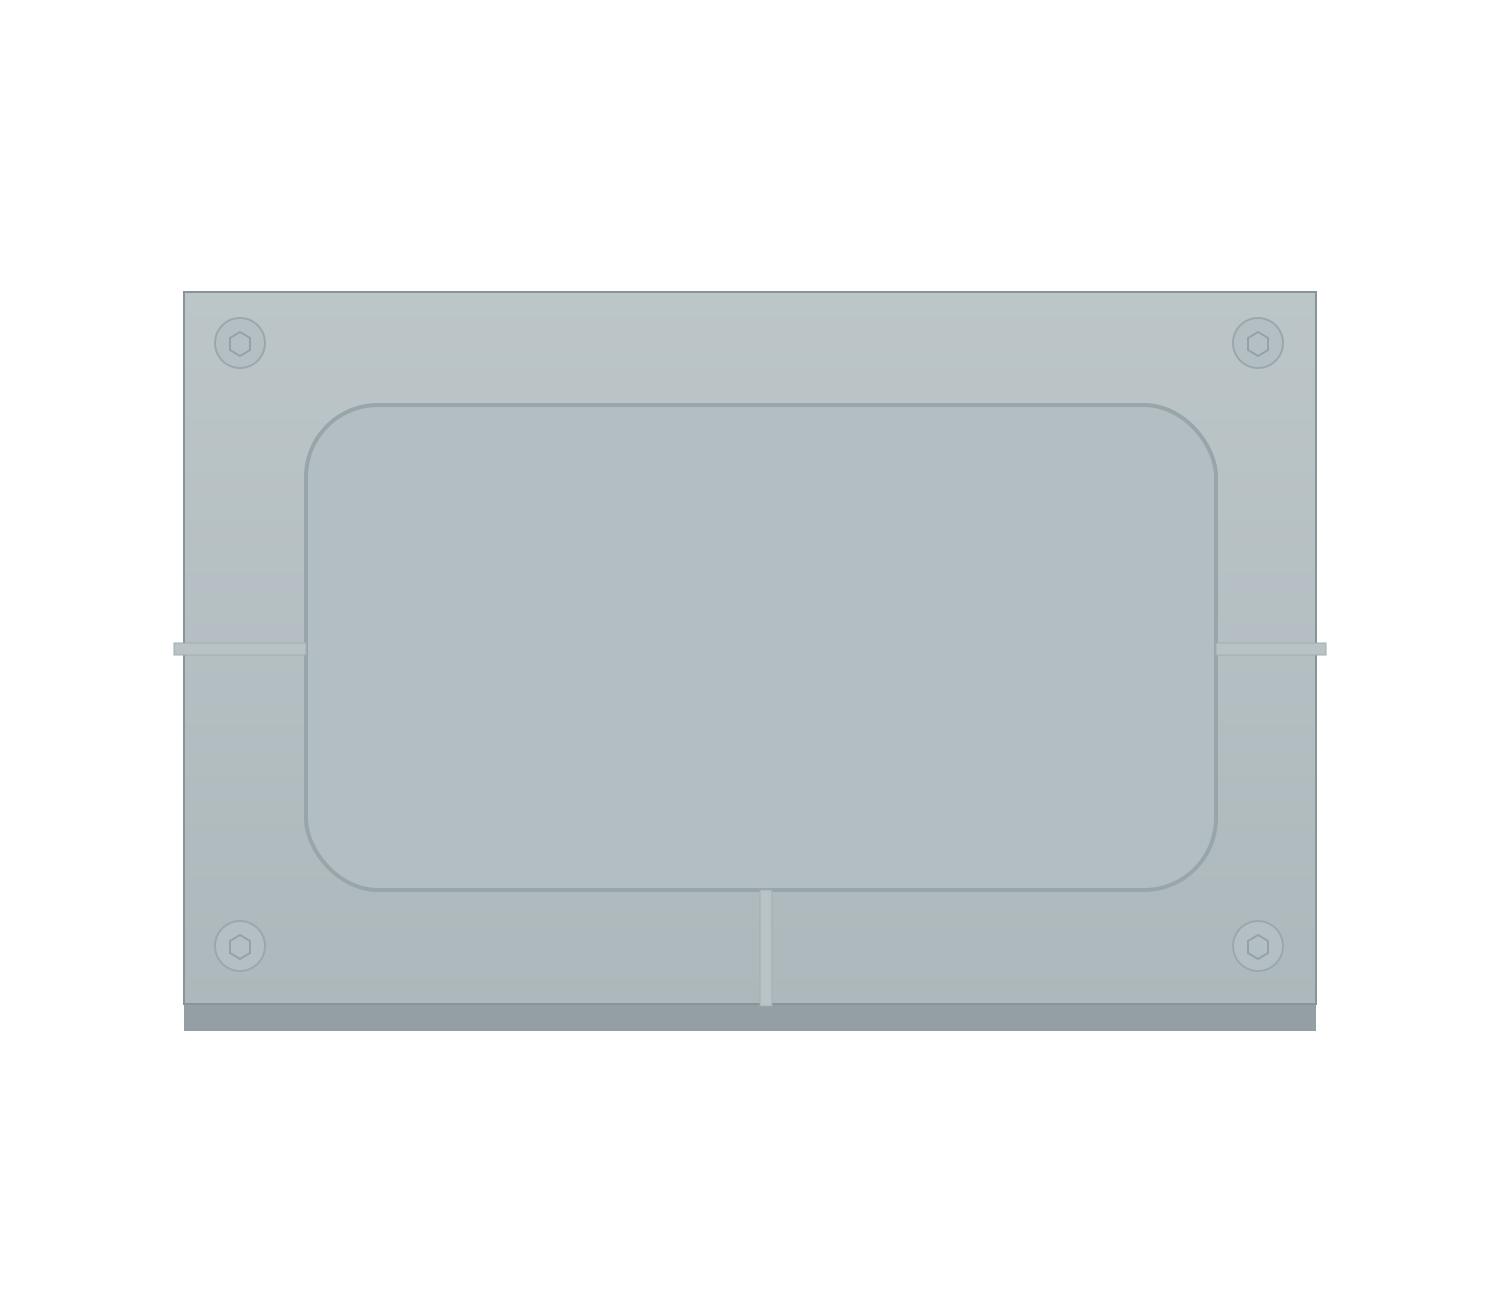
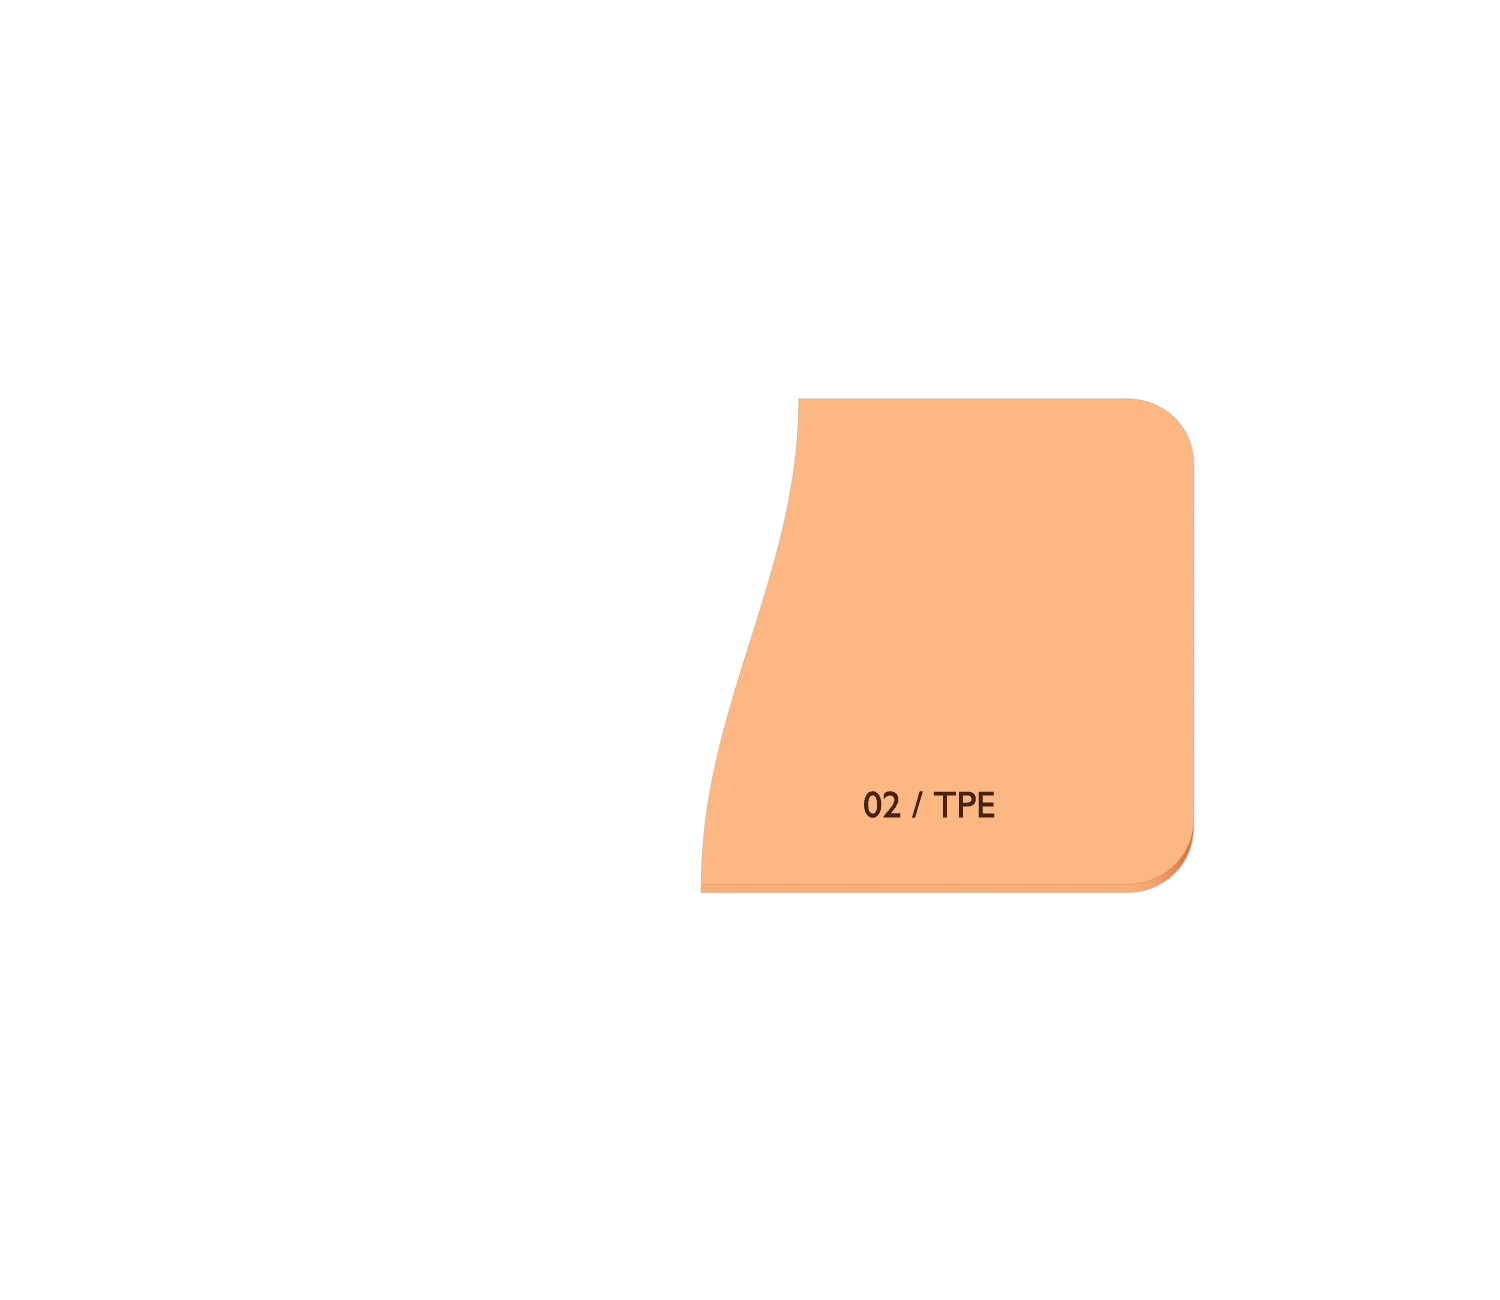
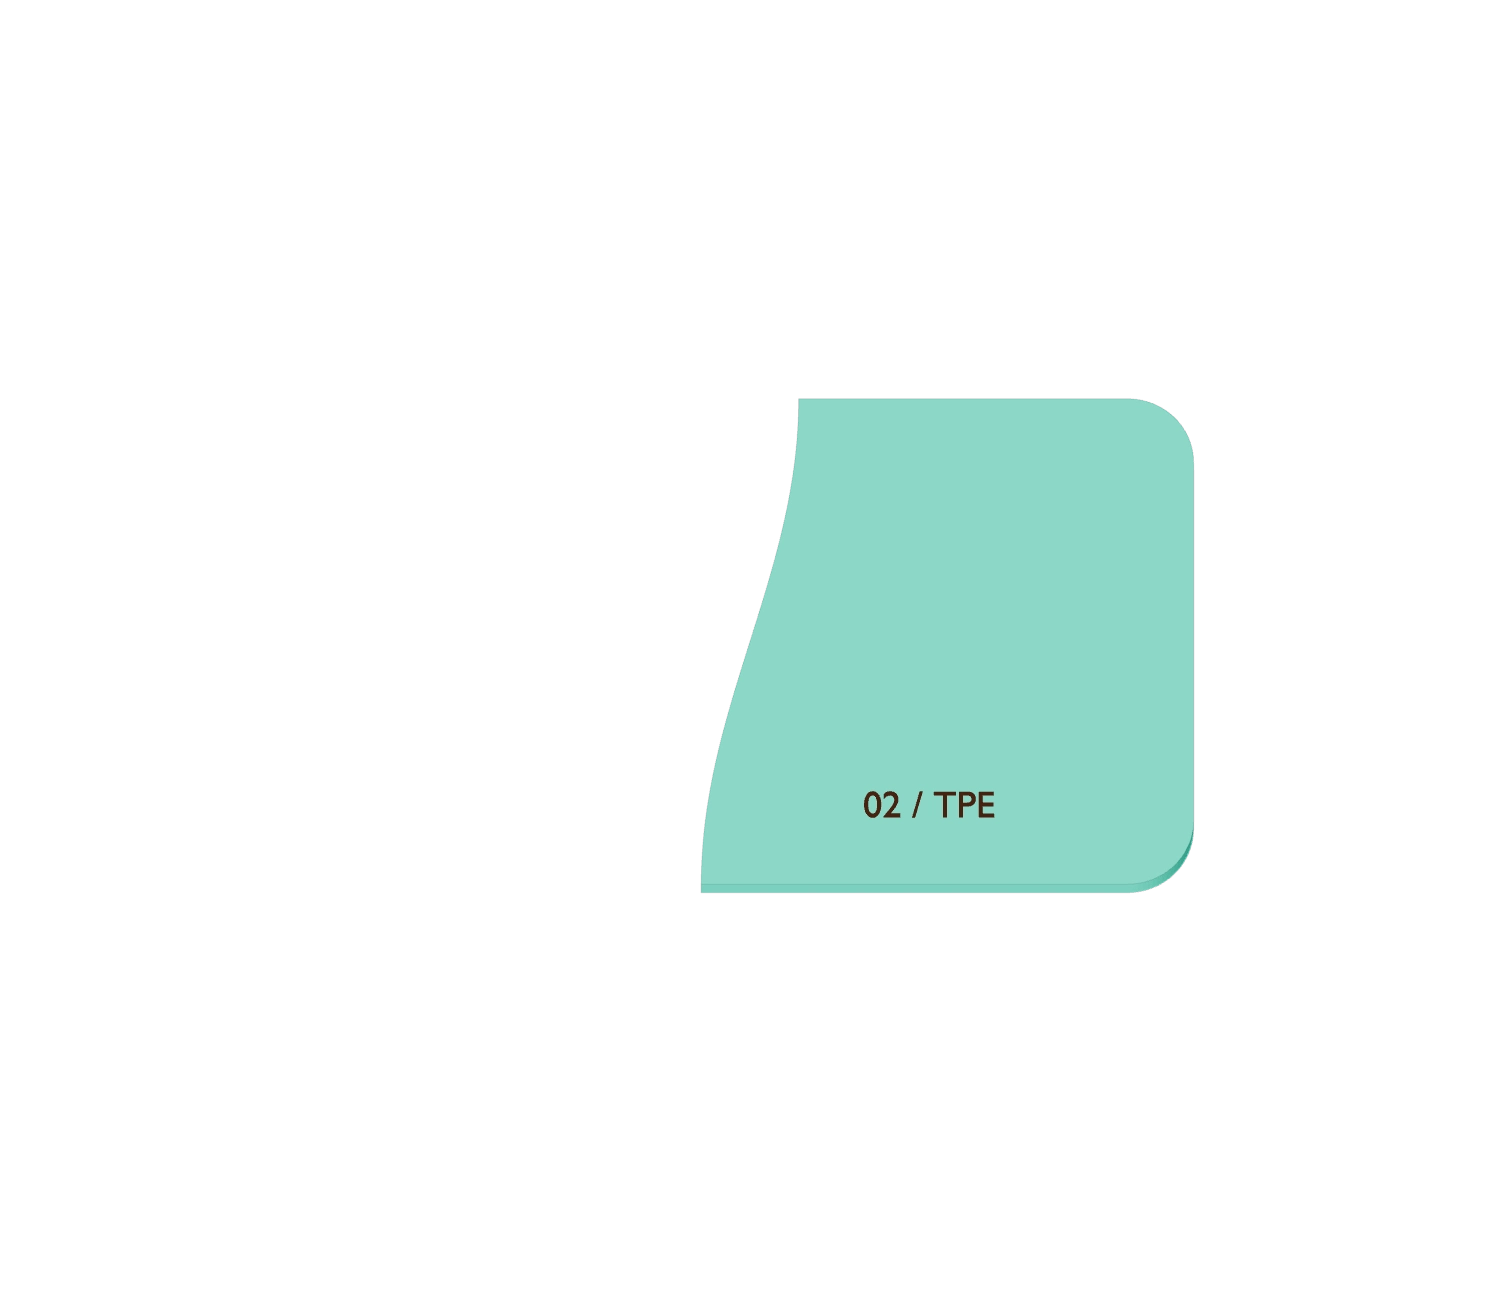
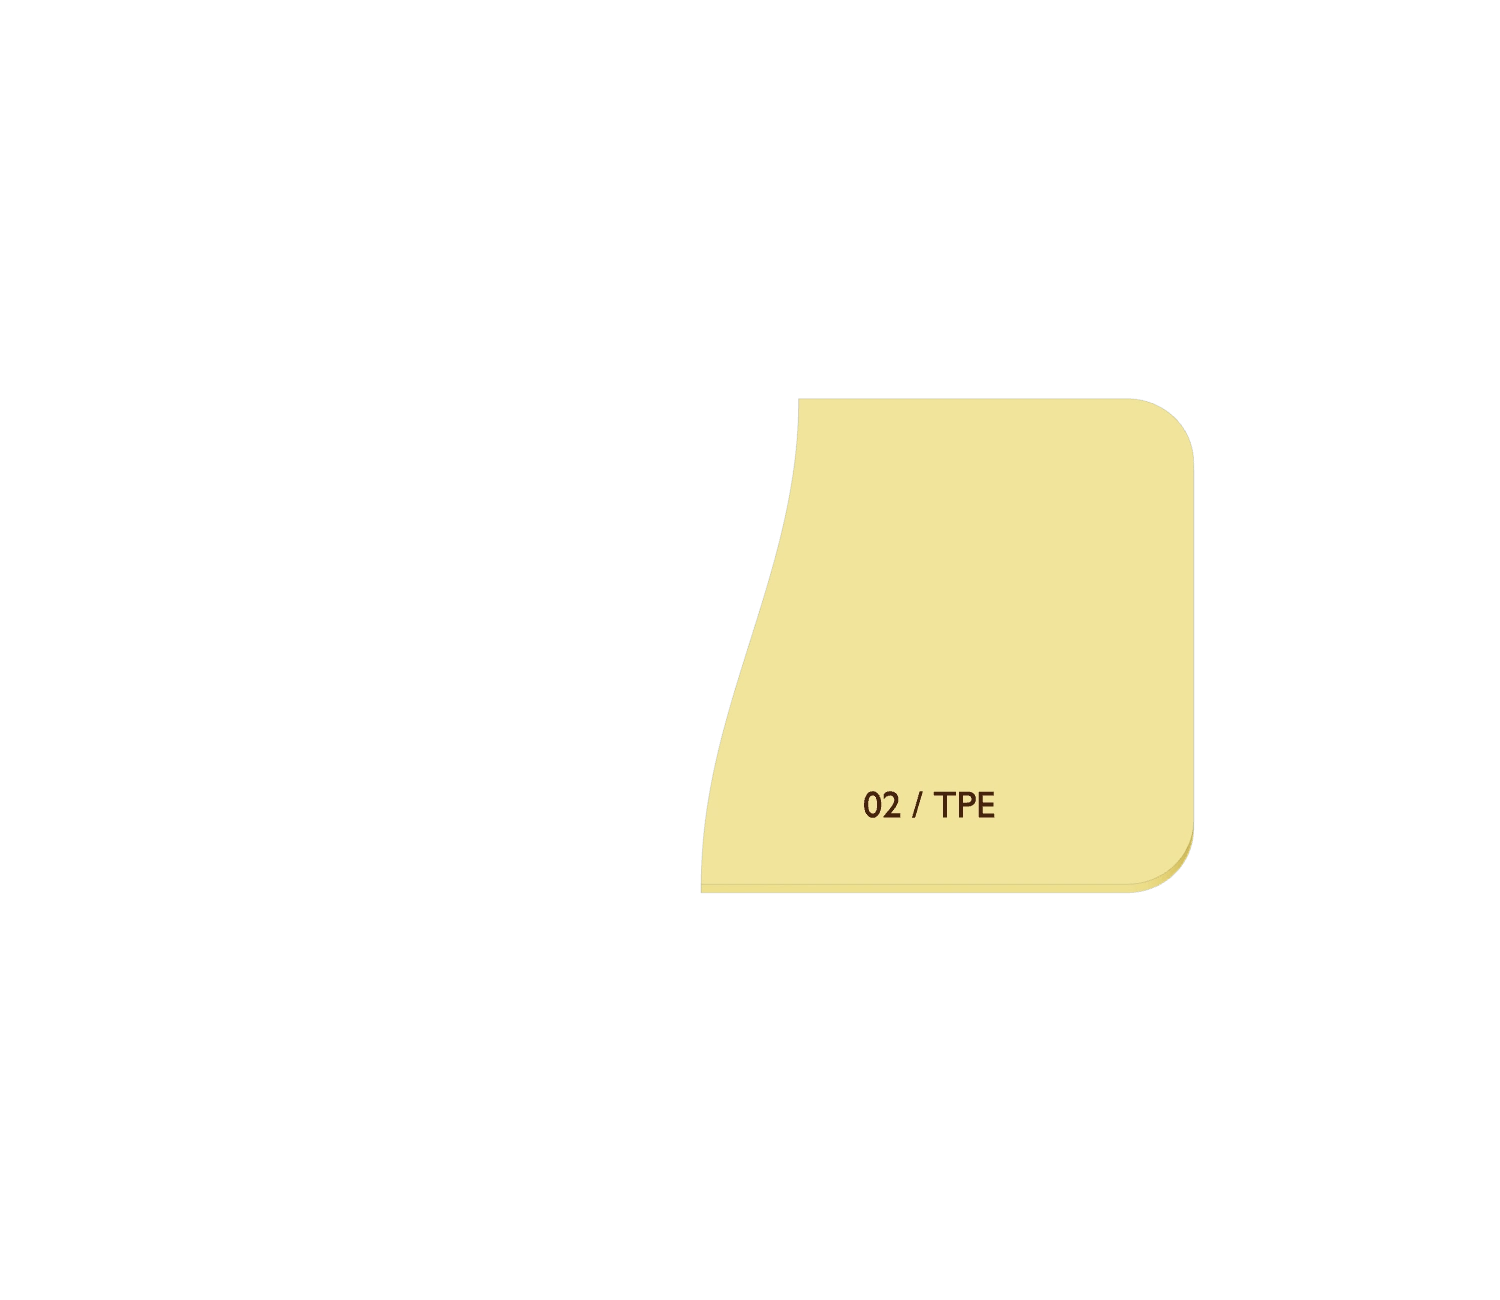
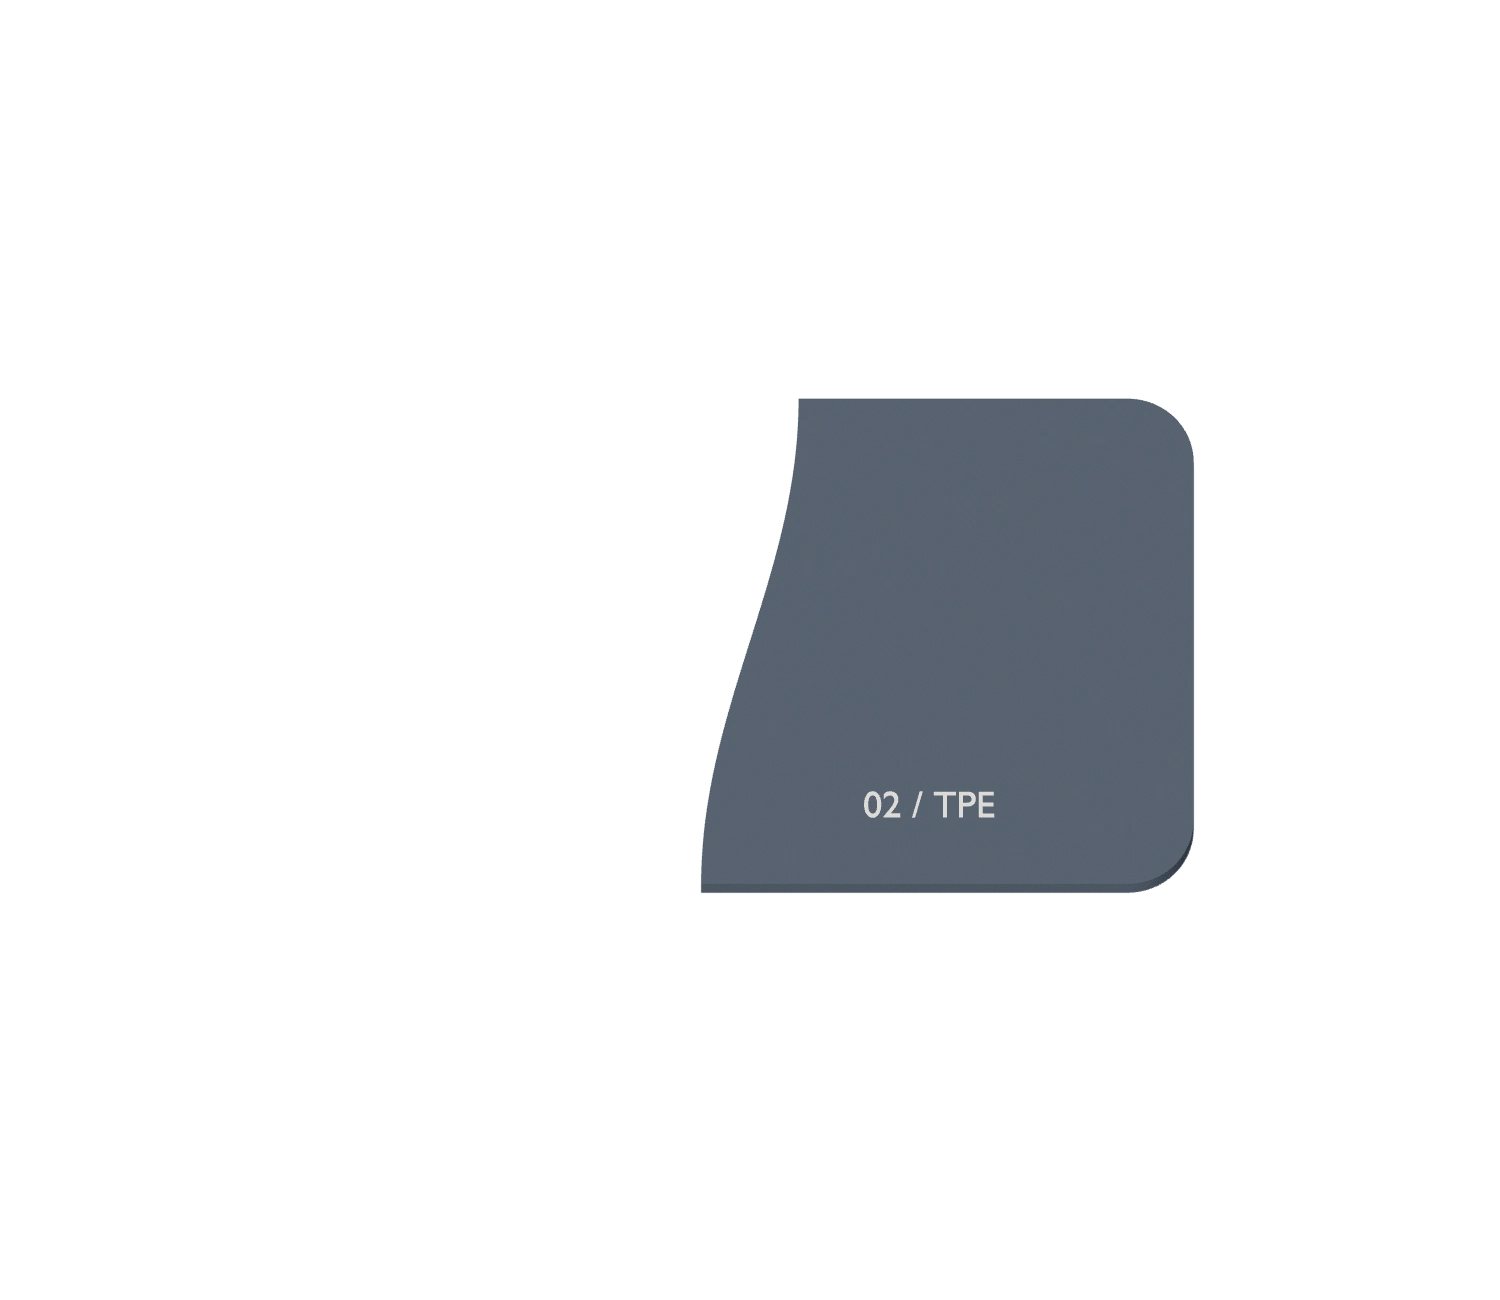
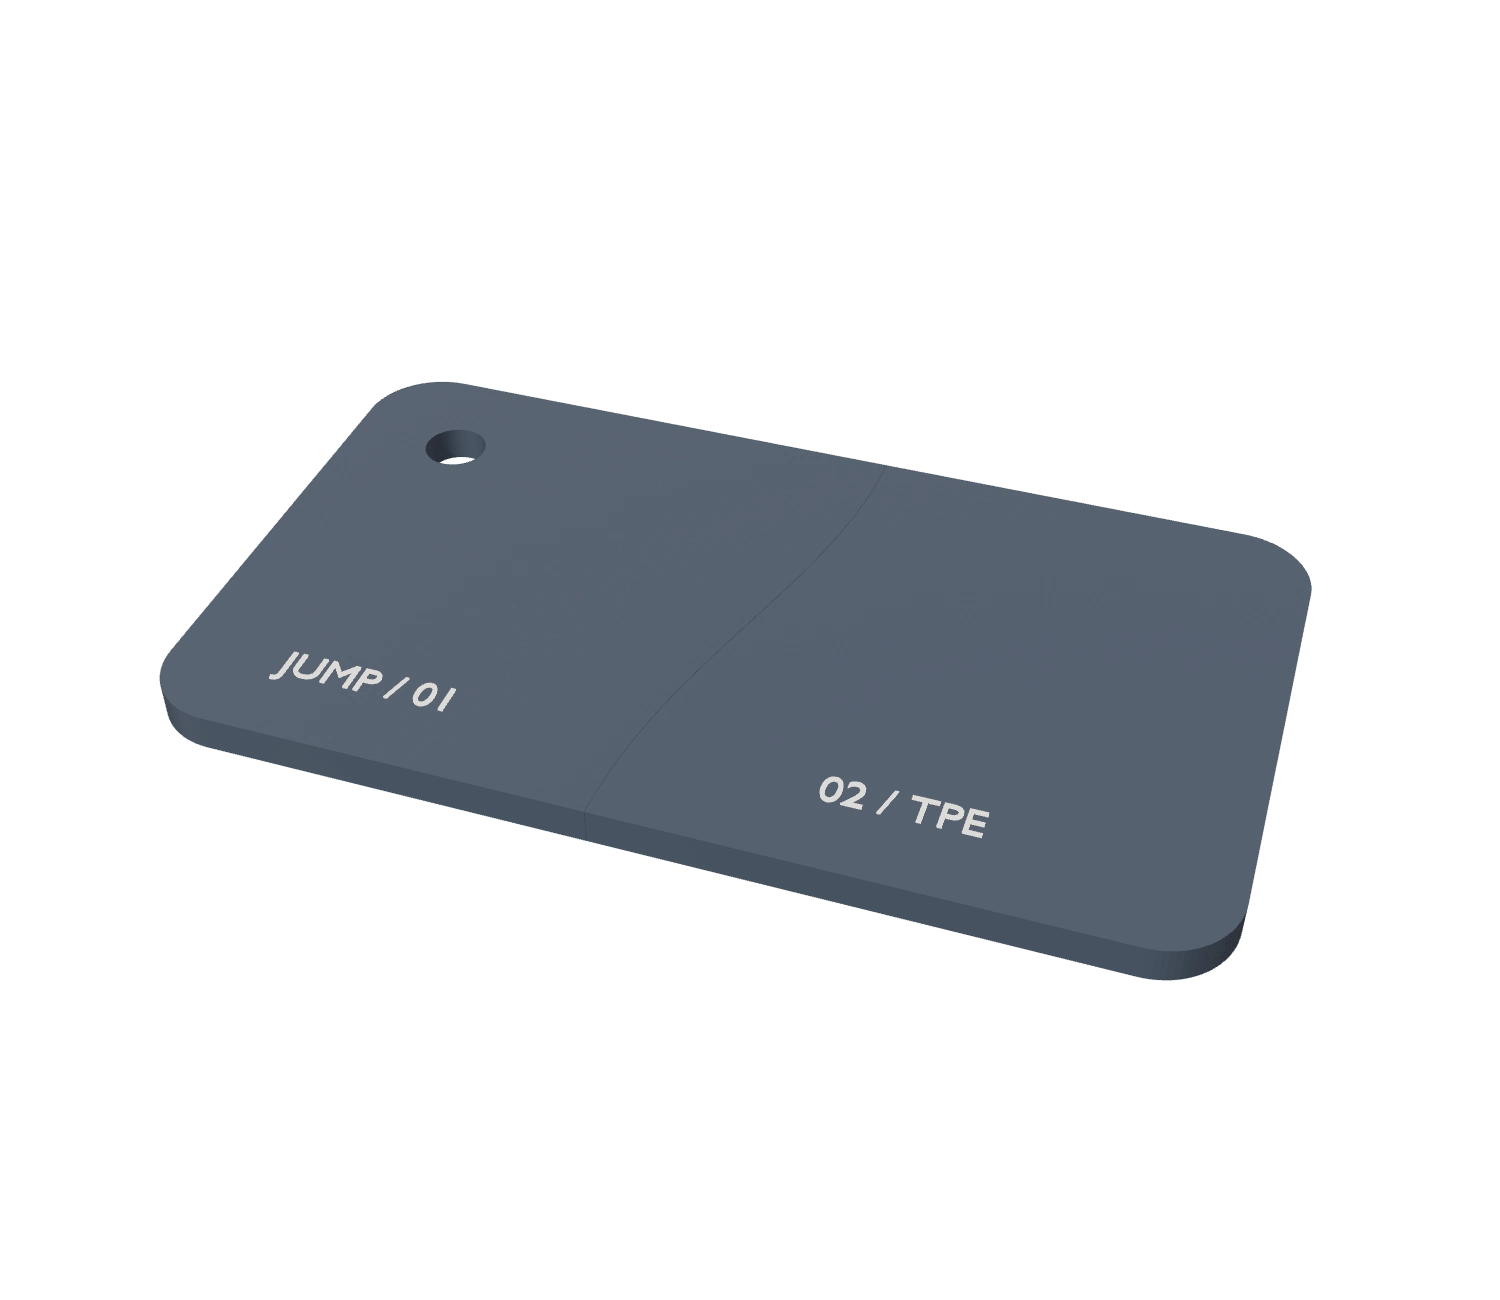
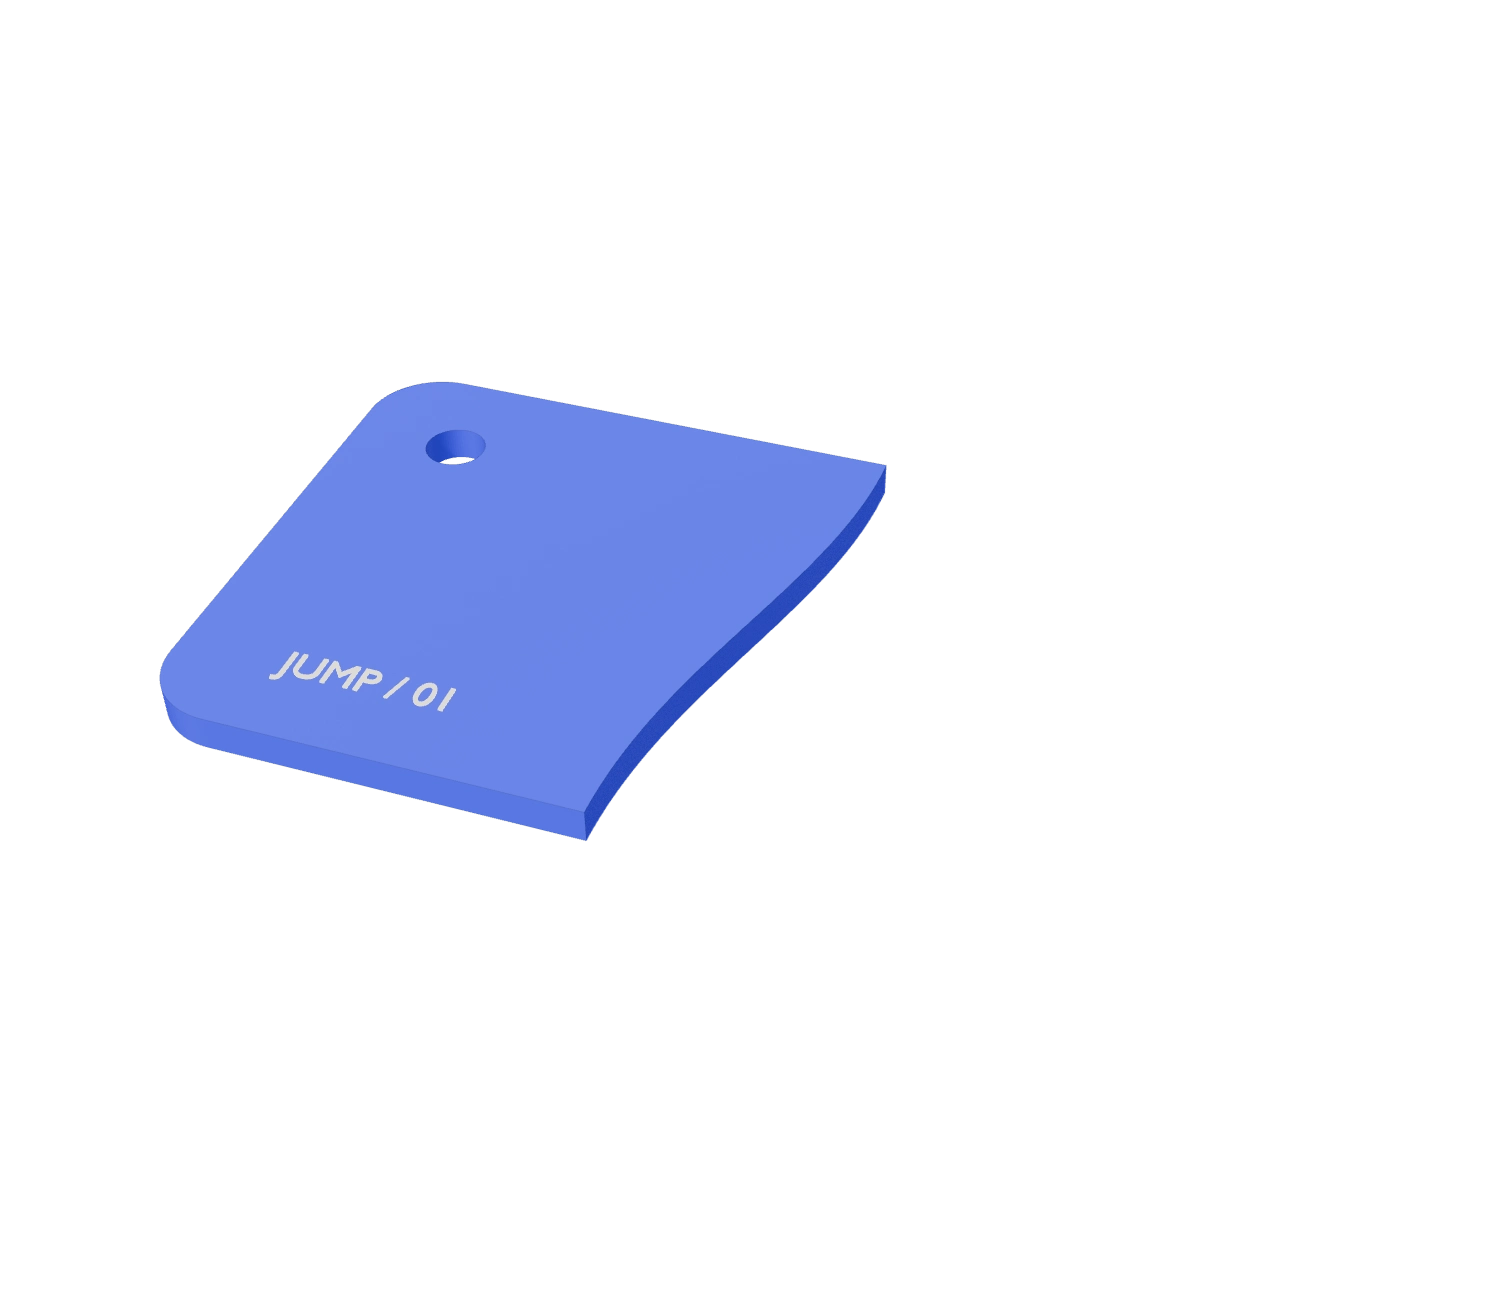
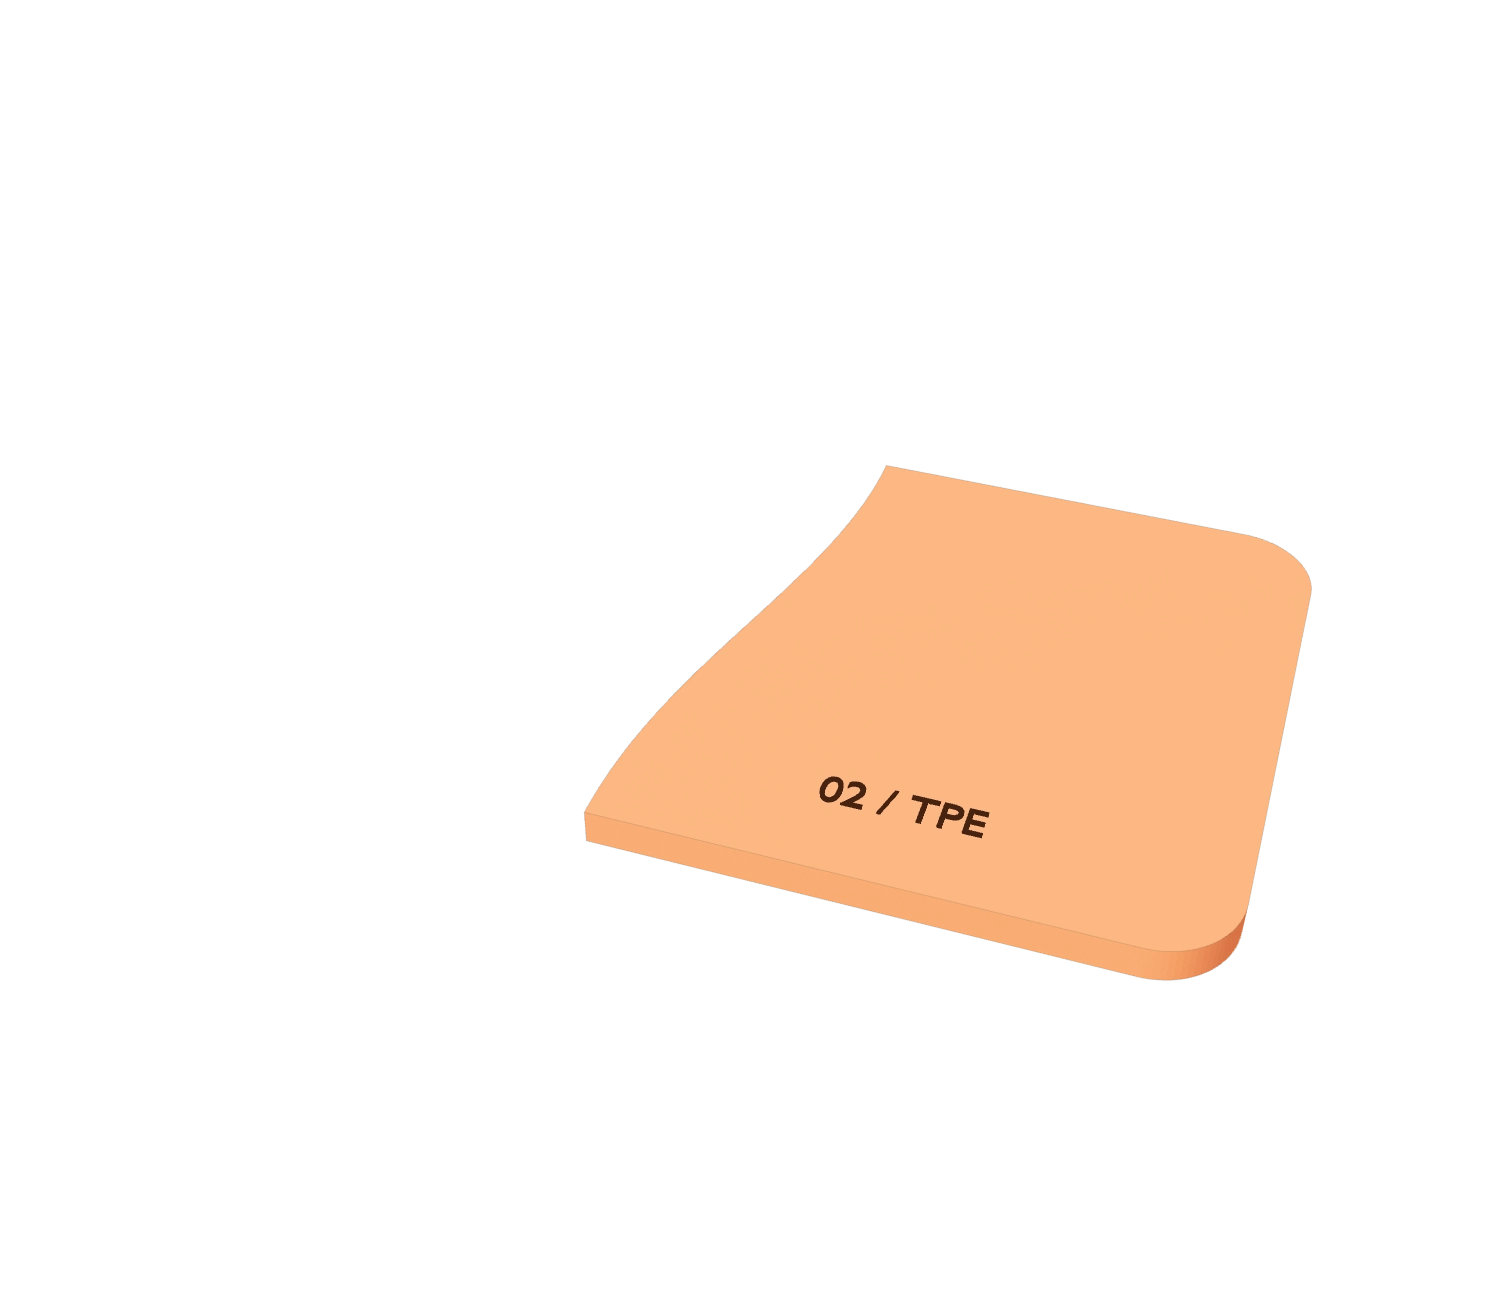
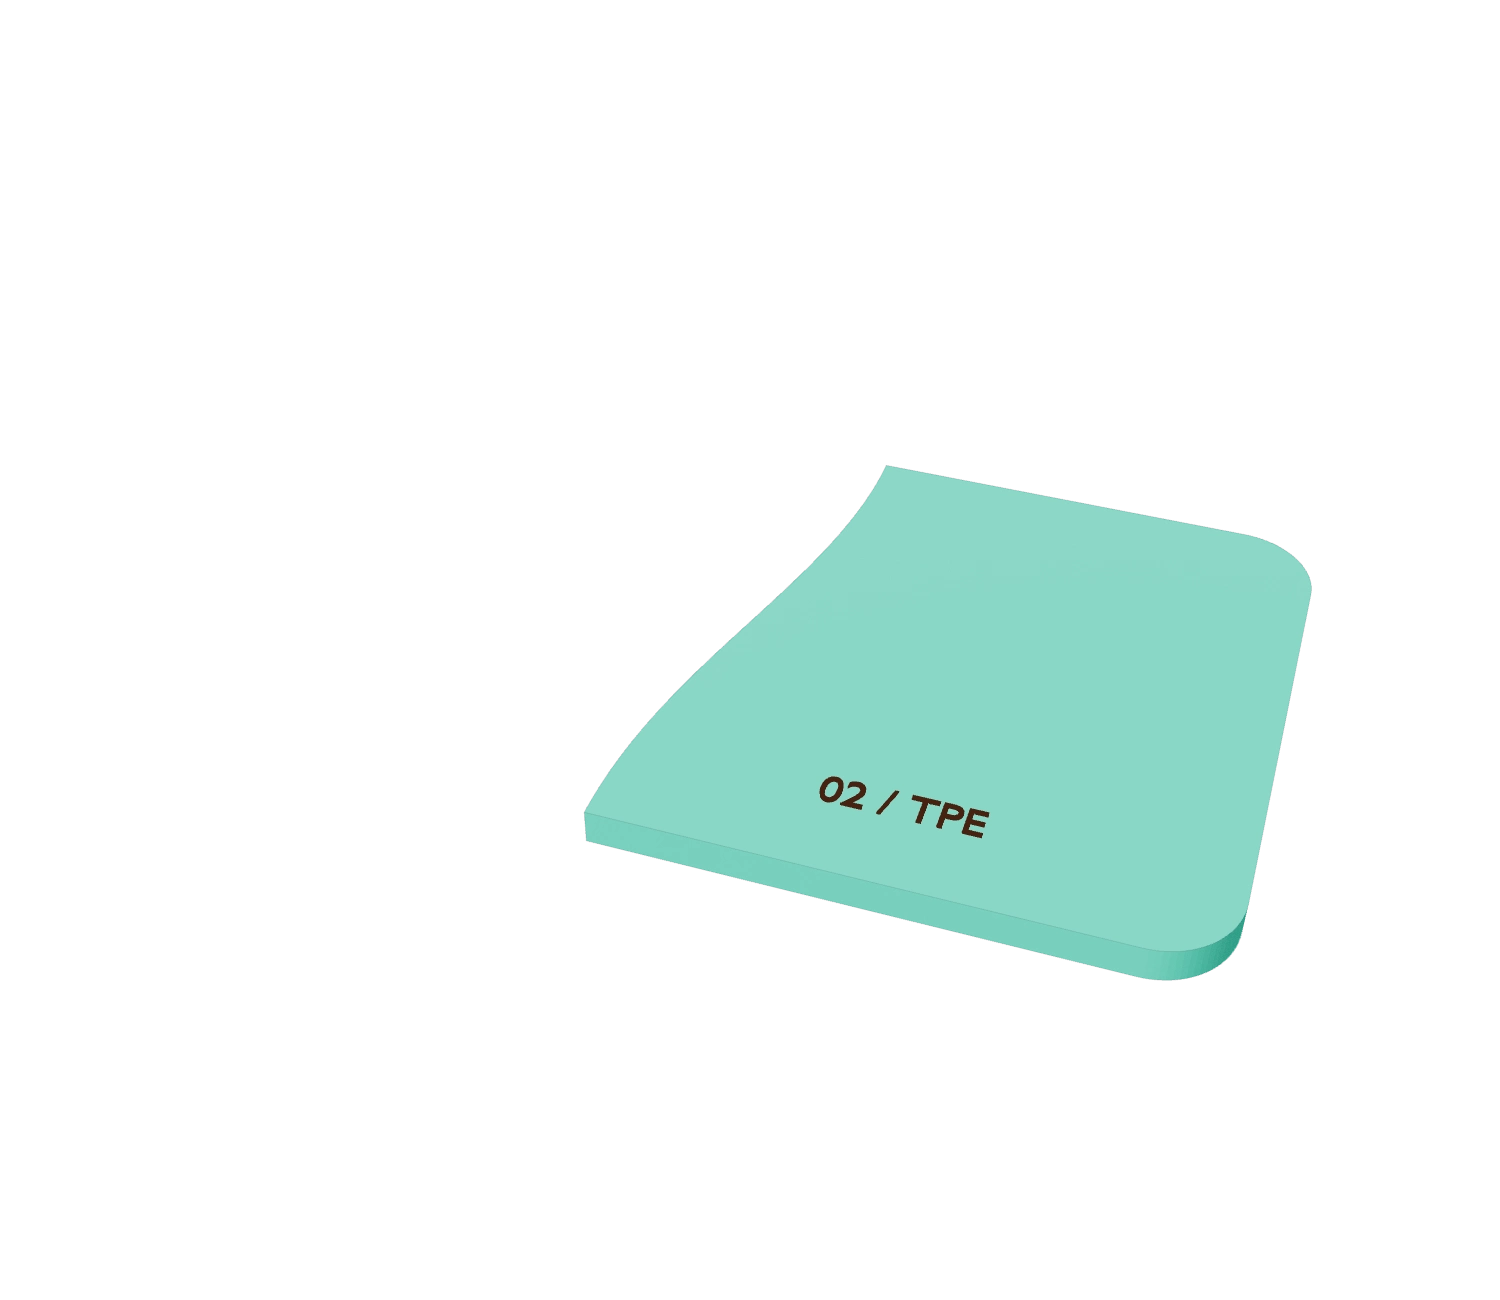
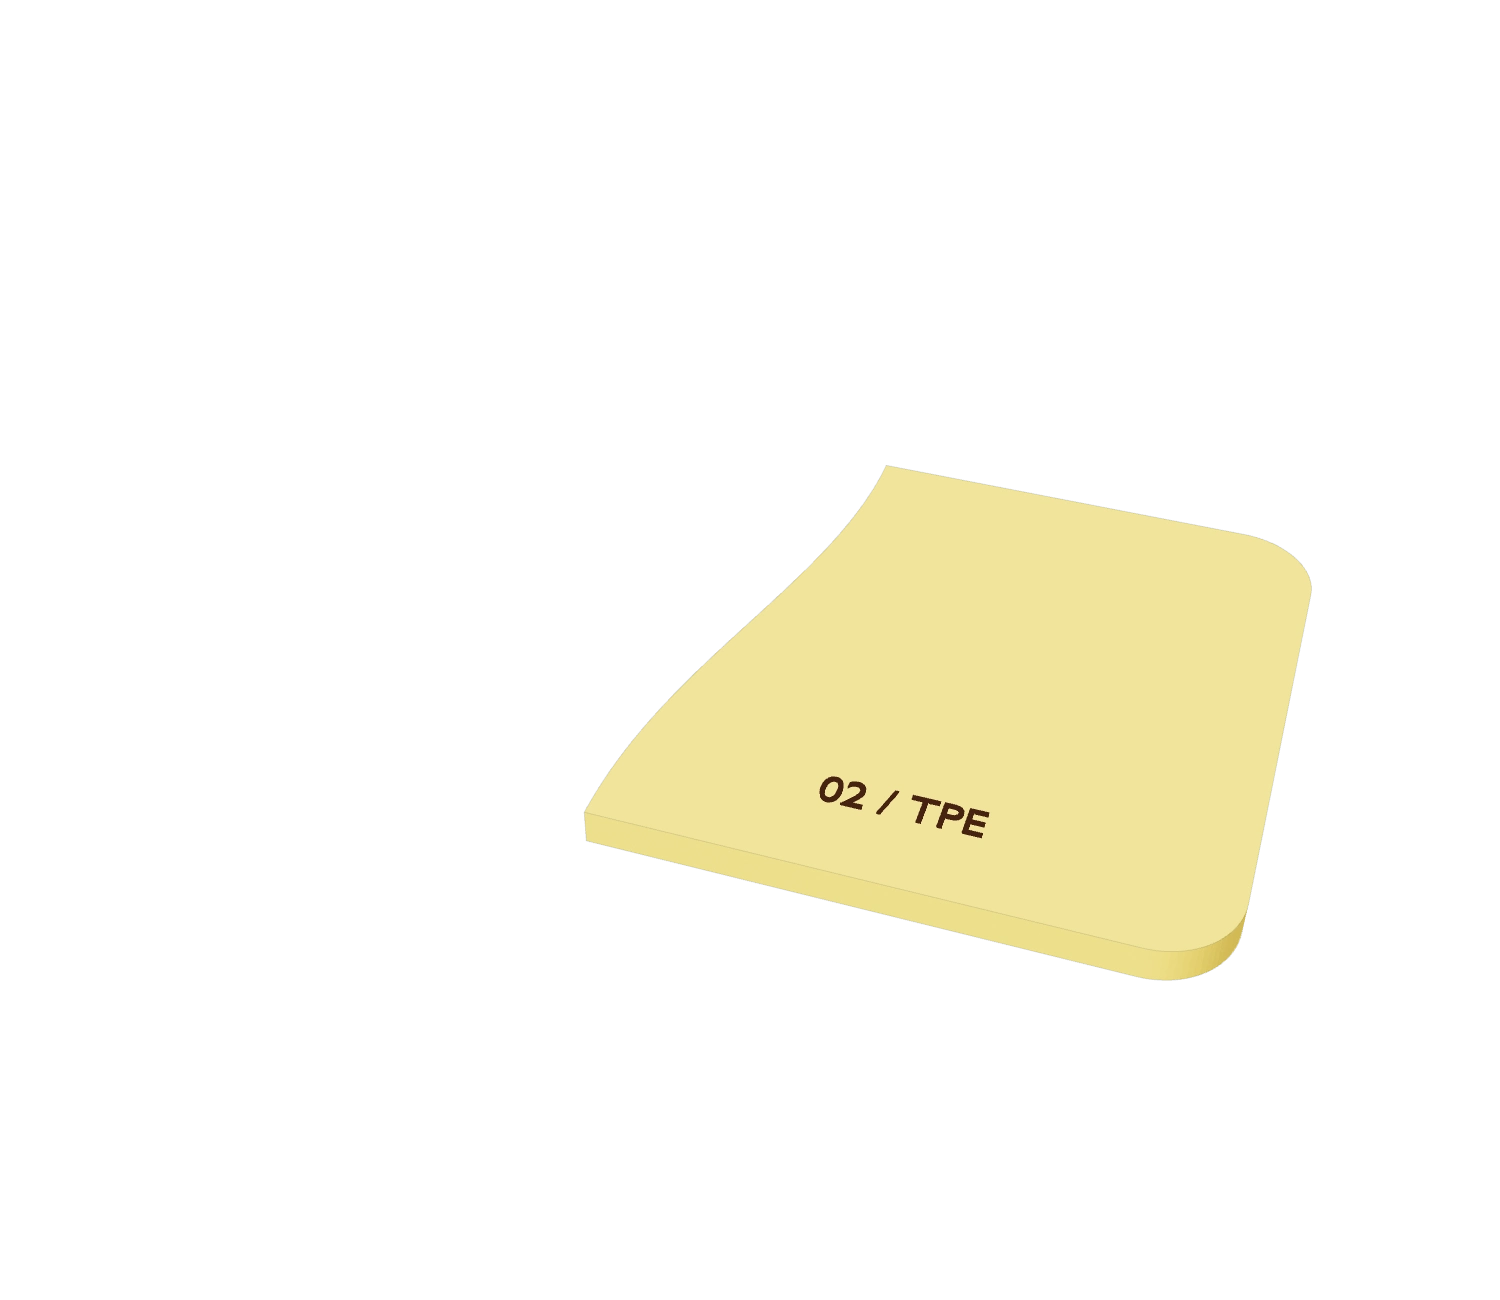
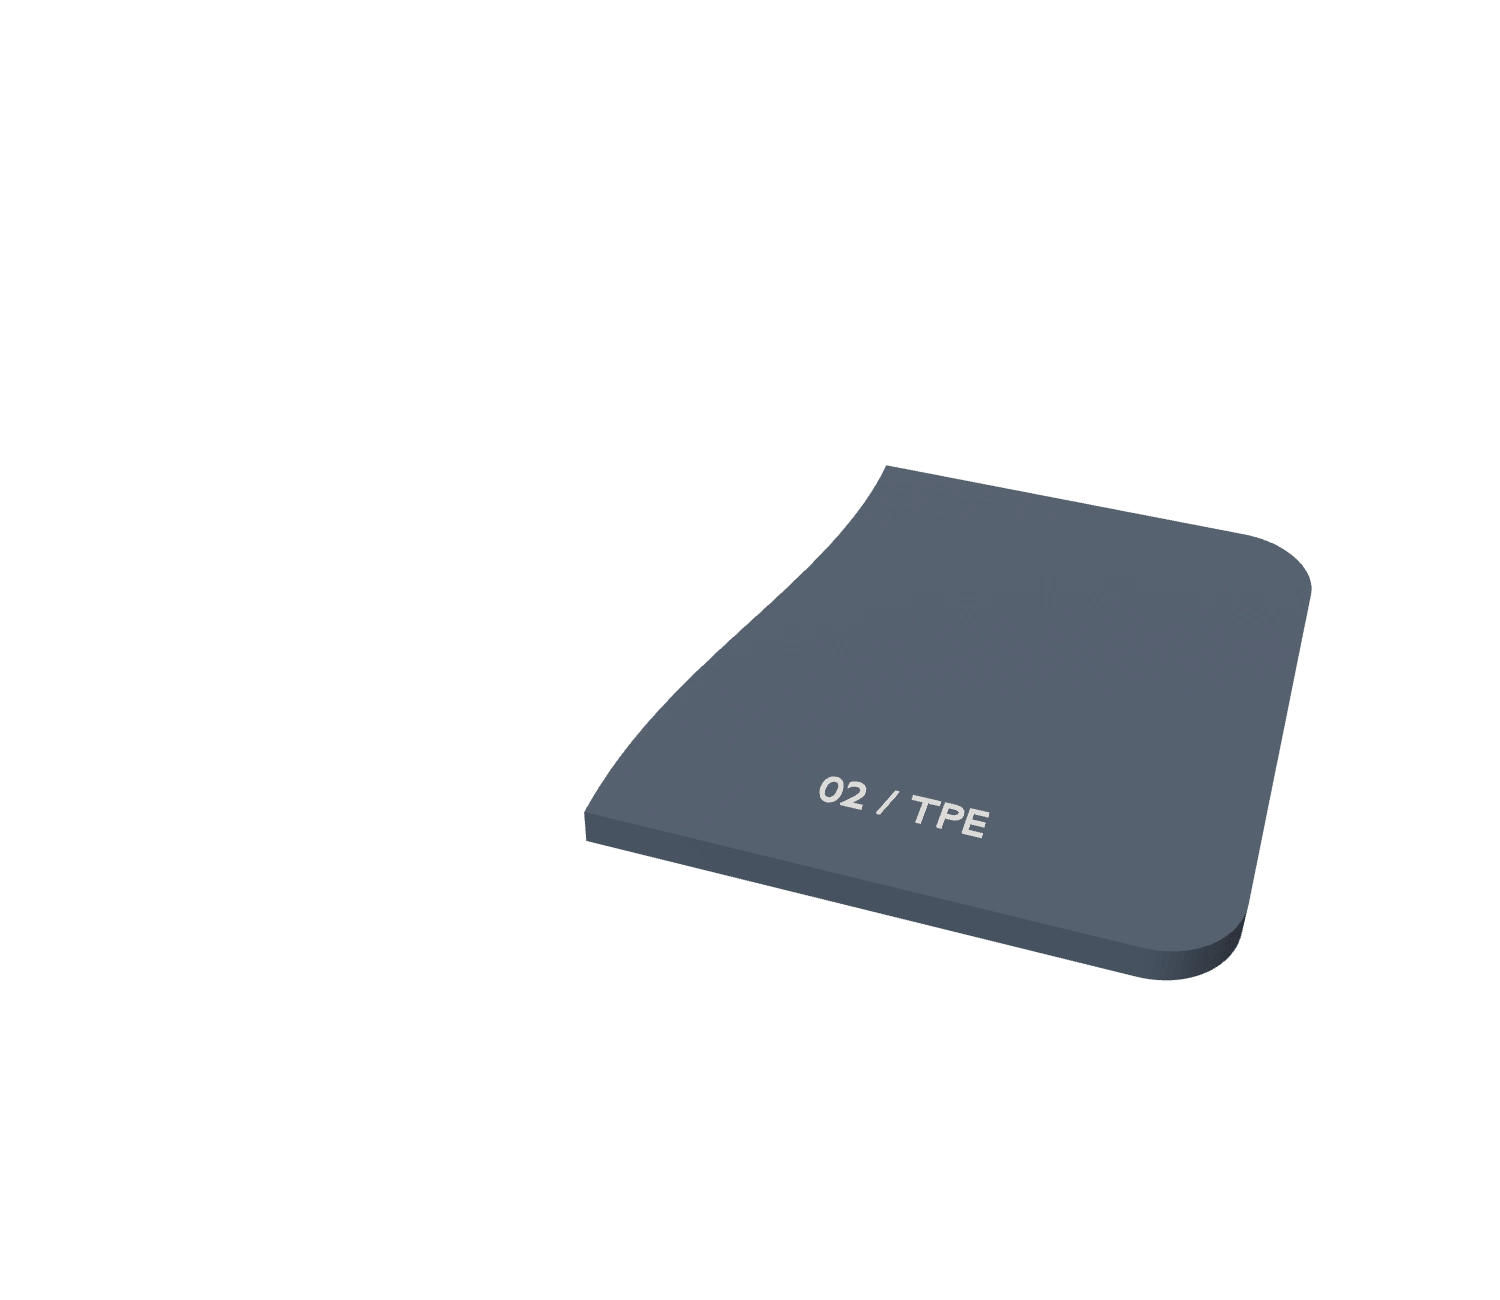
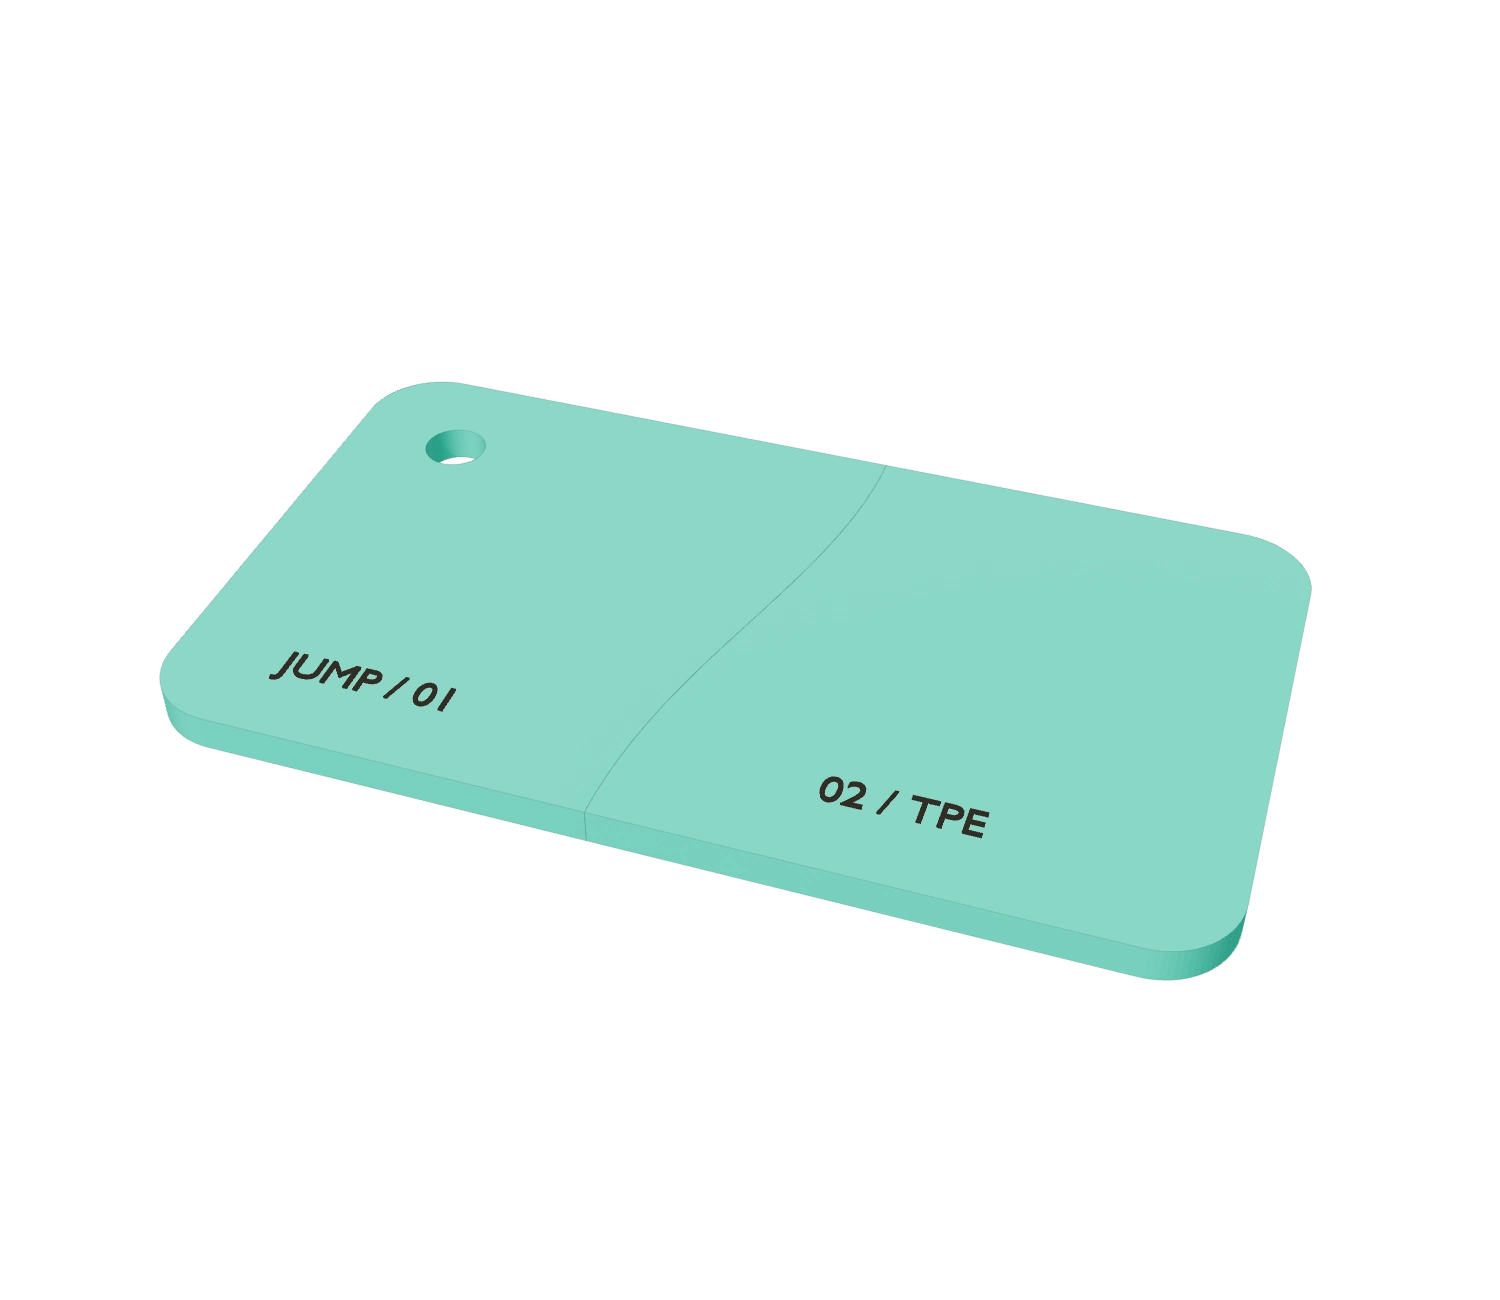
Illustrative rotary sequence. Both shots meet along one continuous interface; the first shot remains in place during the second fill. Tool and material choices depend on your part.
Every material goes in while the part is still in the mould. What used to be three parts and an assembly line comes out as one.
Every material goes in during one machine cycle. No second line, no hand assembly.
The colour is in the plastic itself, so it can’t chip or peel off like a painted finish.
Hard and soft materials bond in the mould, so seals and grips stay where they belong.
Precision tooling for two- and three-shot parts. Explore our product geometry and see how two or three materials meet in one part.
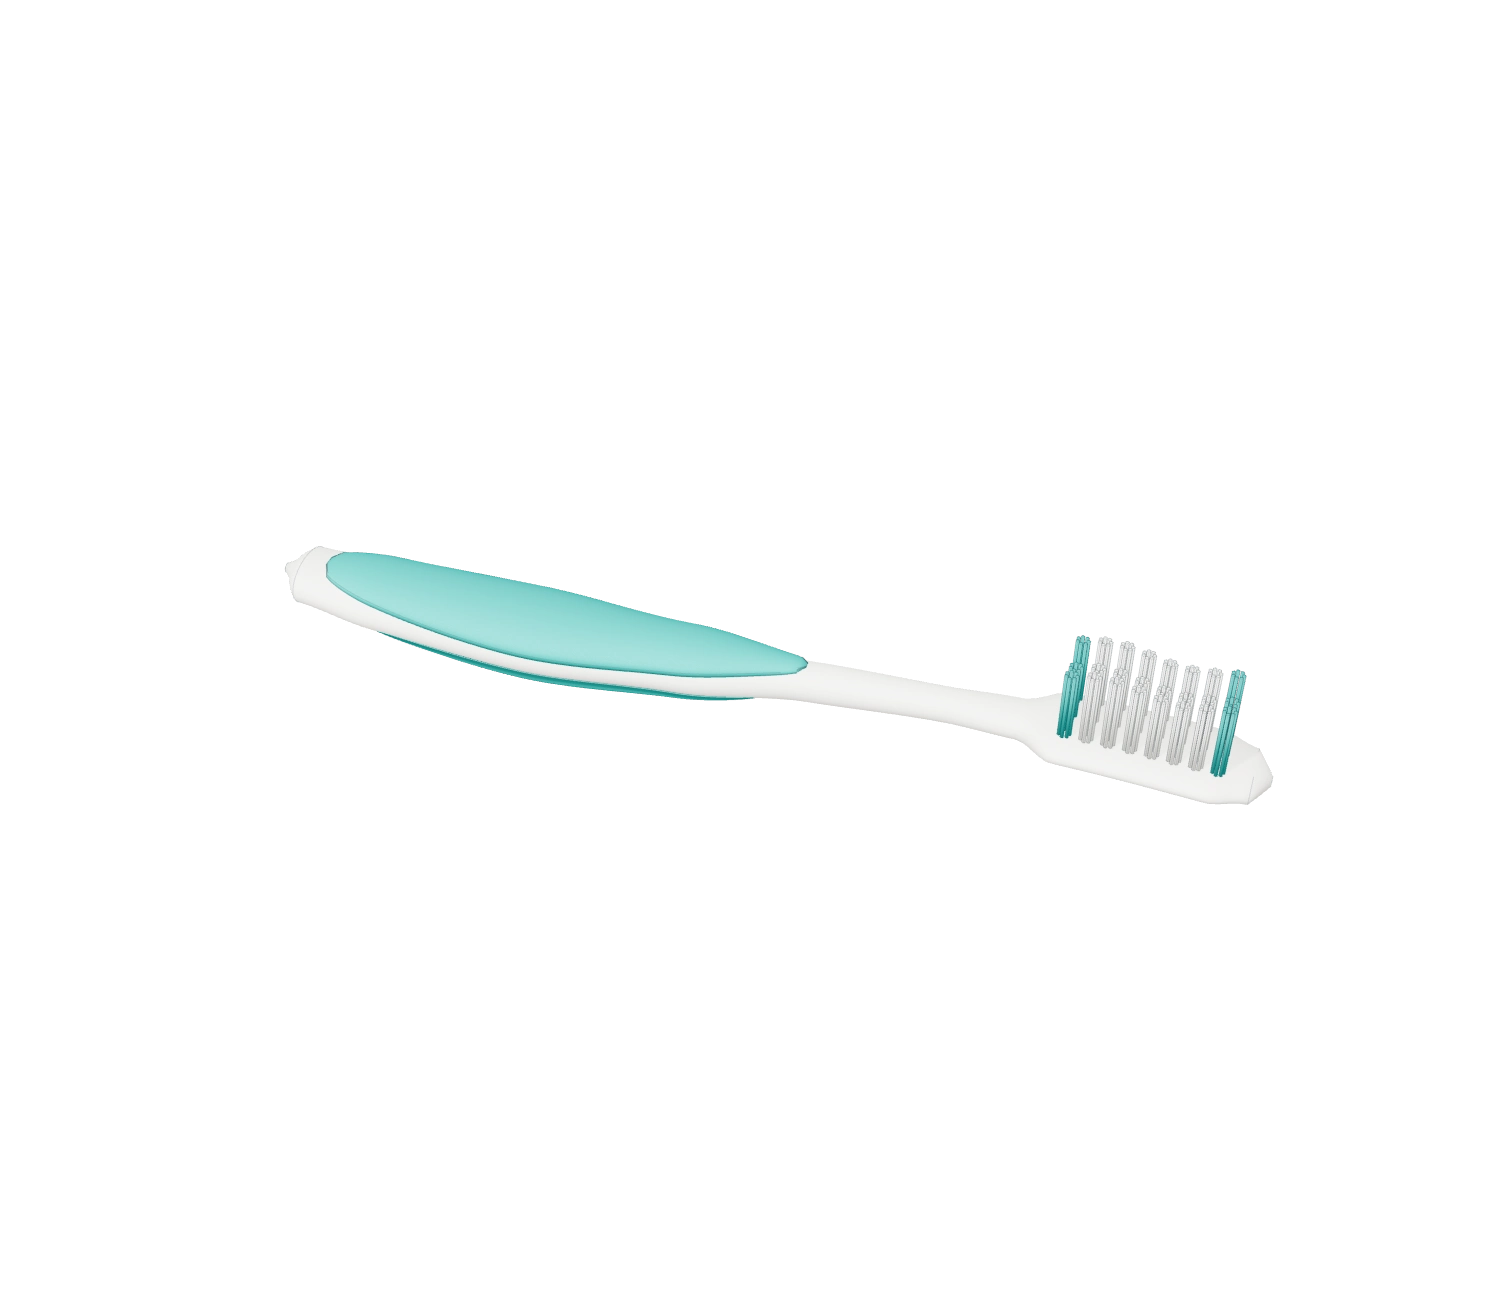 2KApplication concept
Oral care · PP + TPE
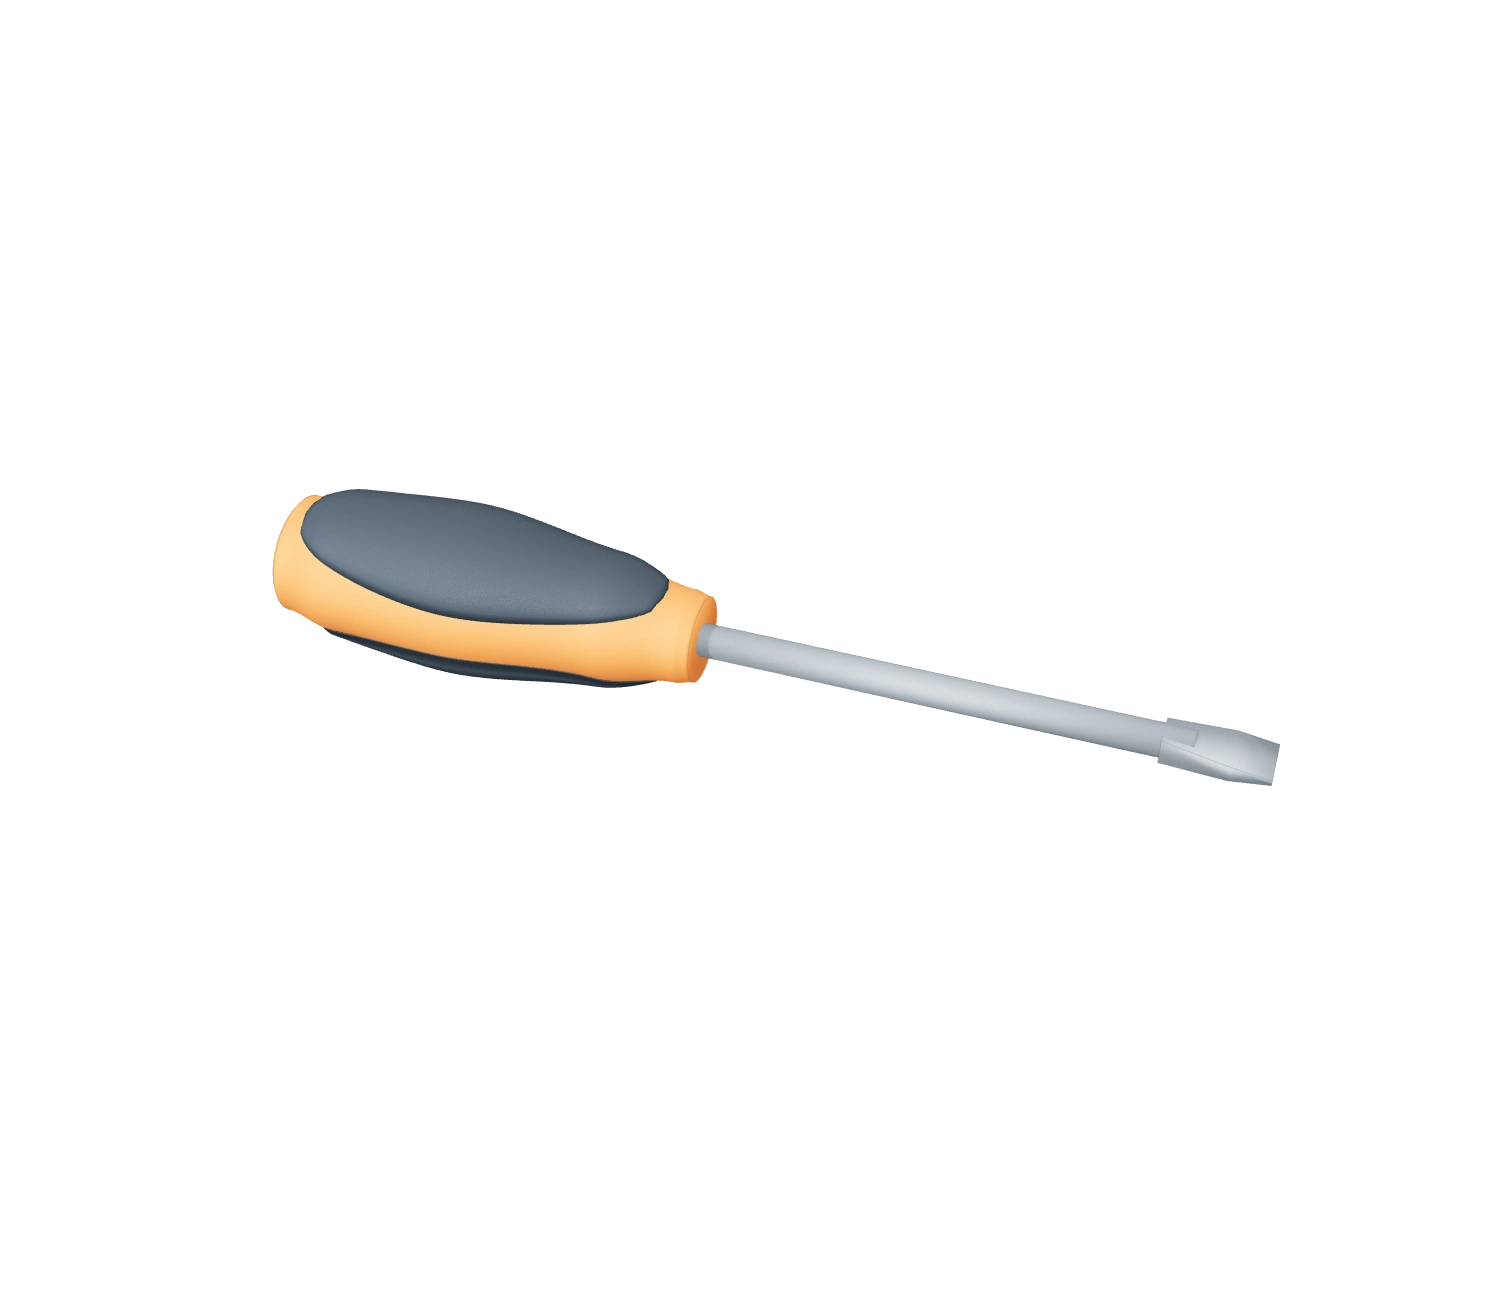 2KApplication concept
Hand tools · PP + TPE
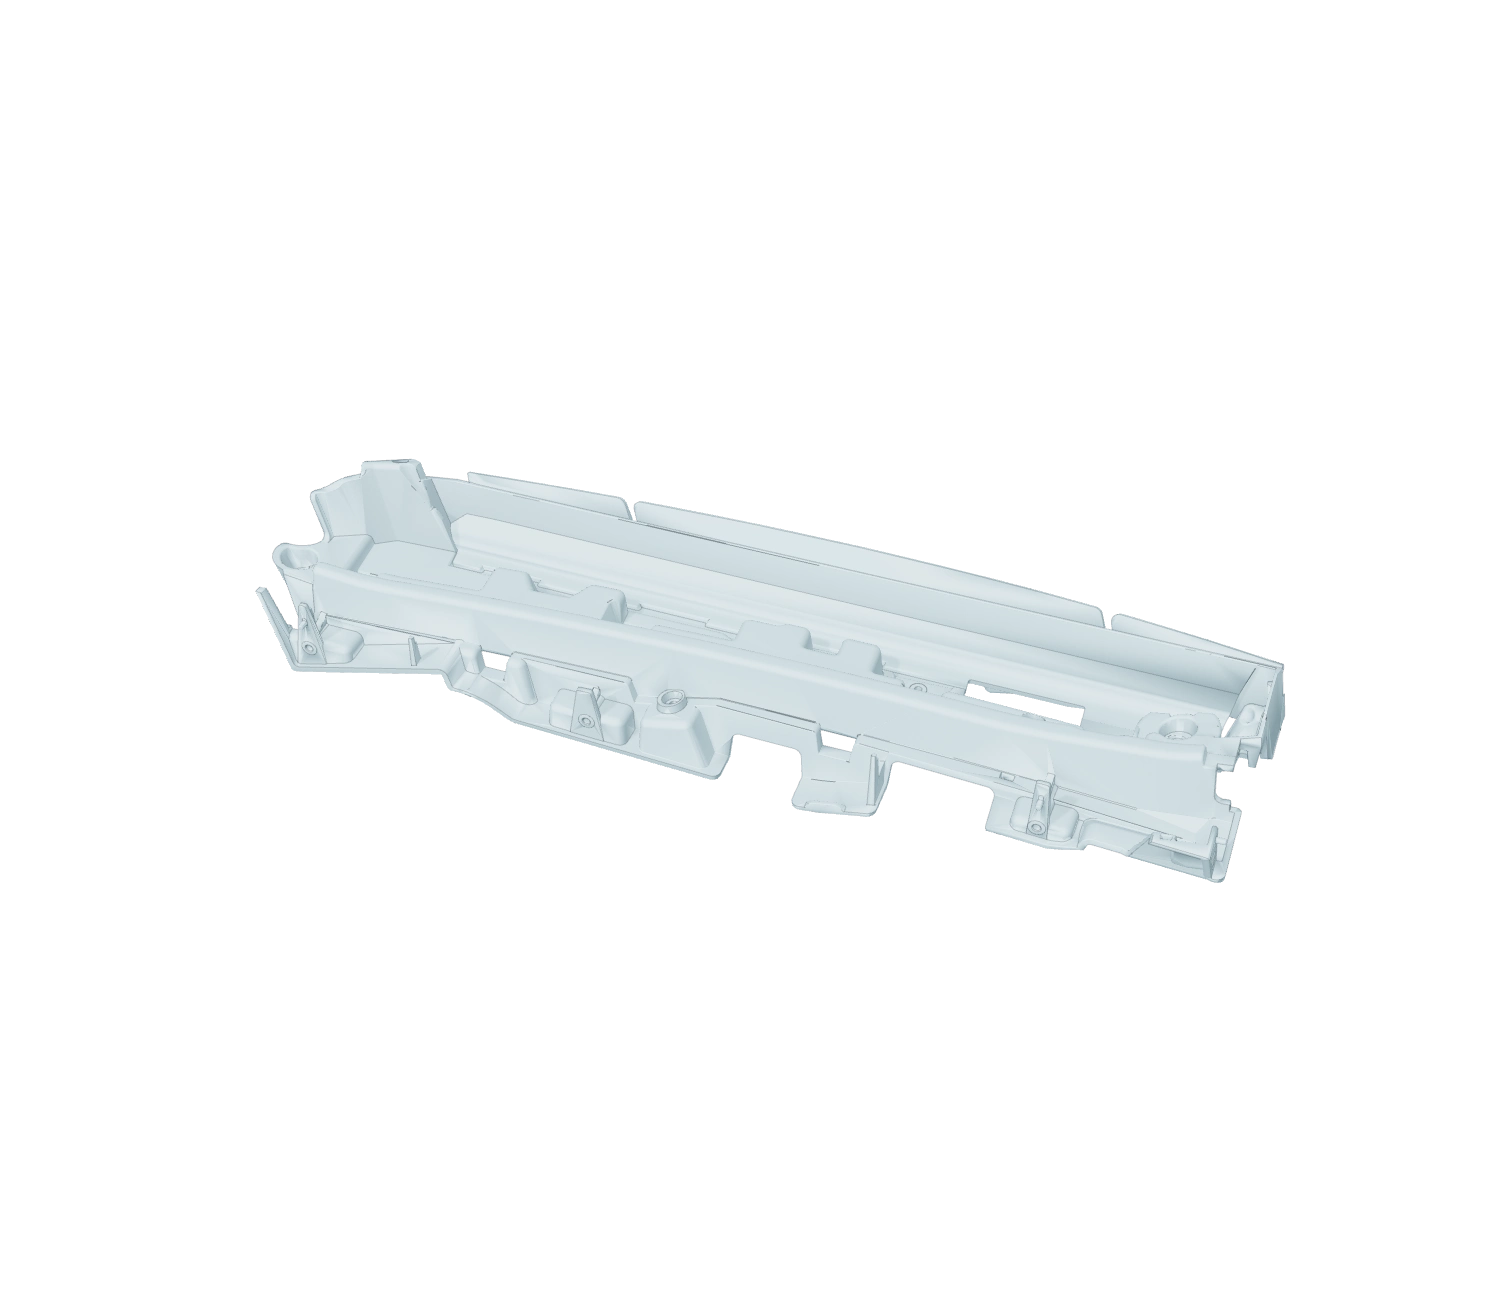 CADSource geometry
Source geometry · Studio finish
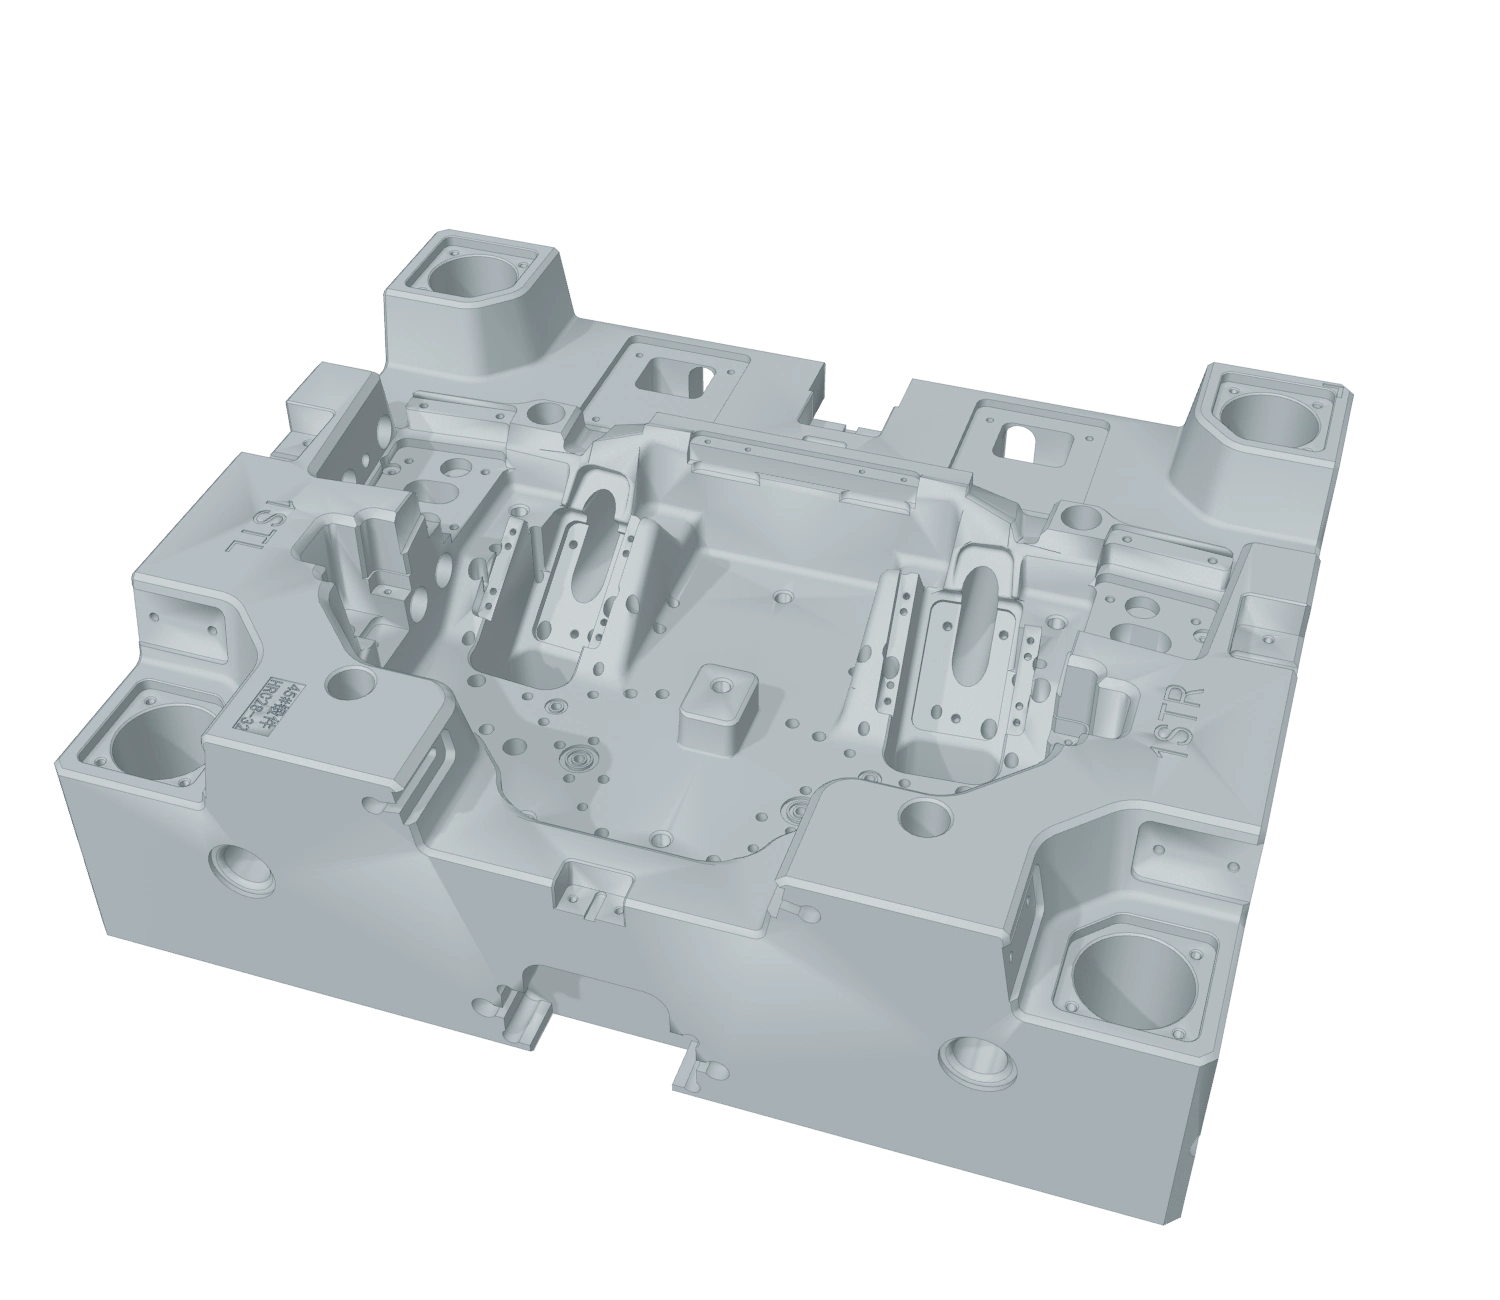 CADSource geometry
Source geometry · Studio finish
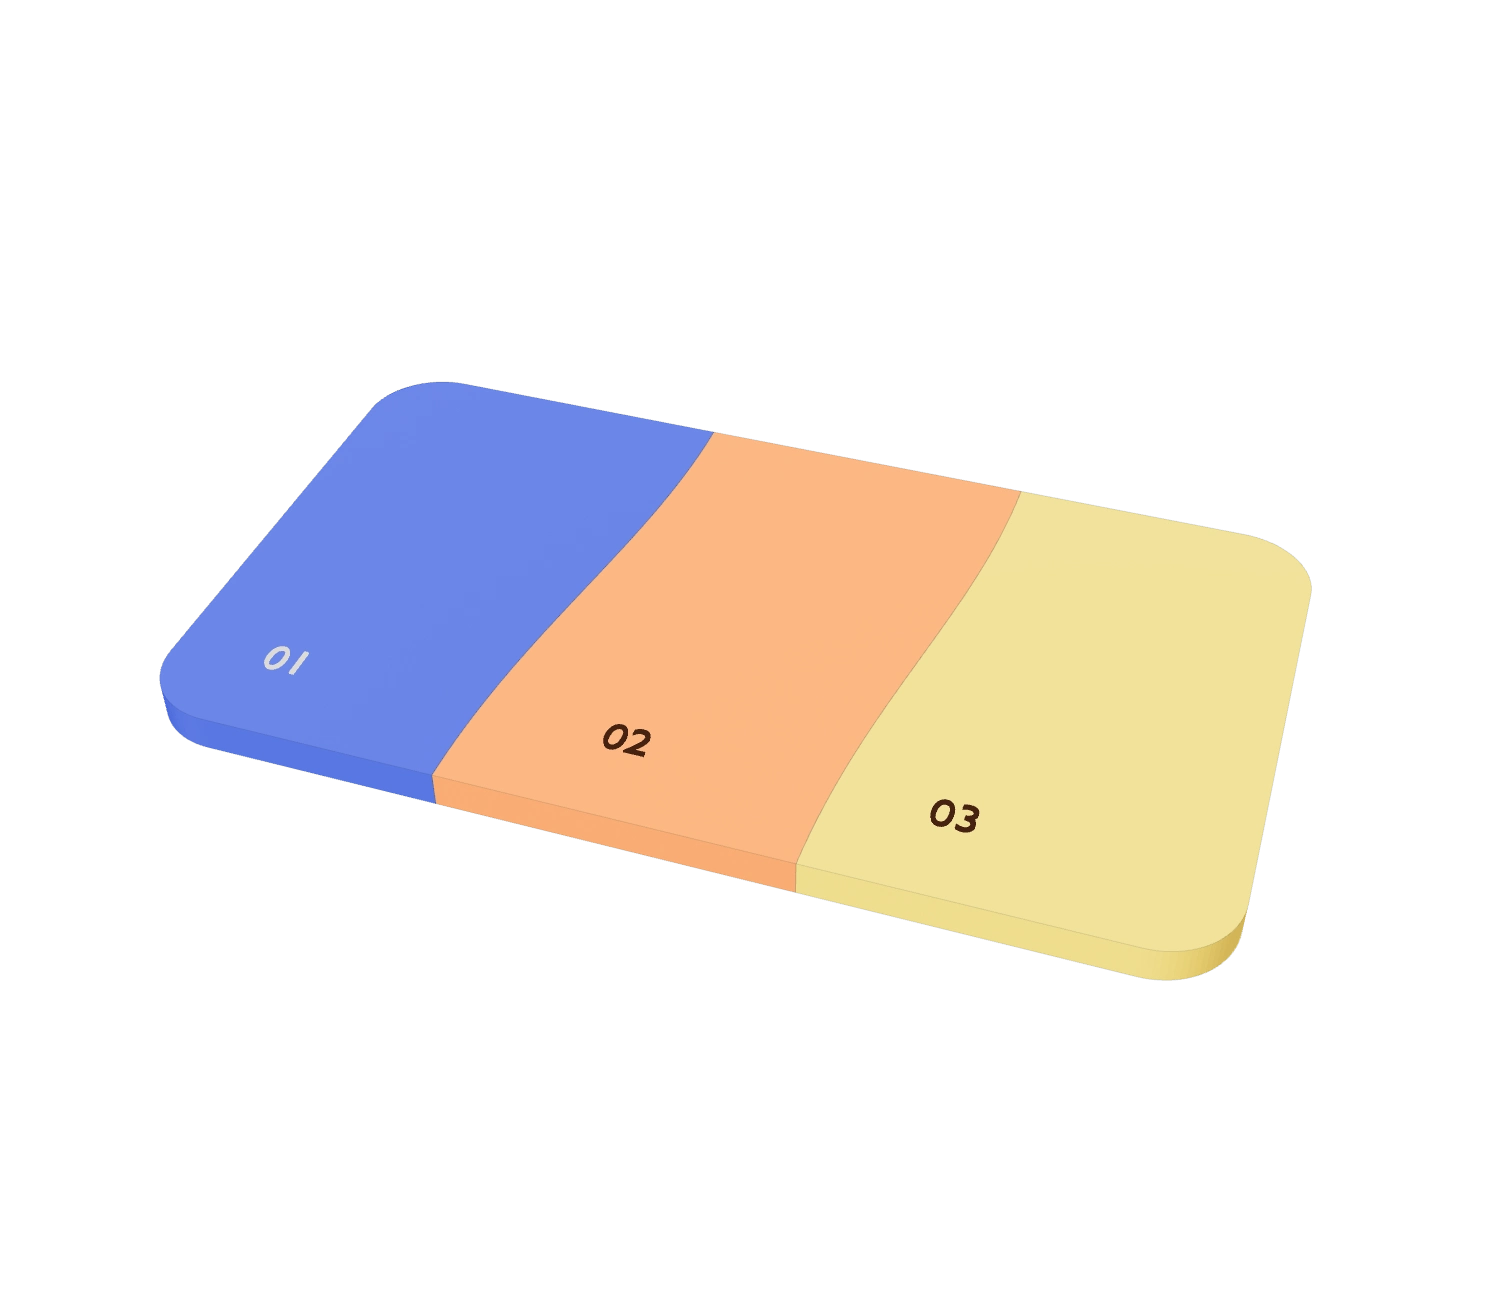 3KTeaching model
Three shots · Two shared interfaces
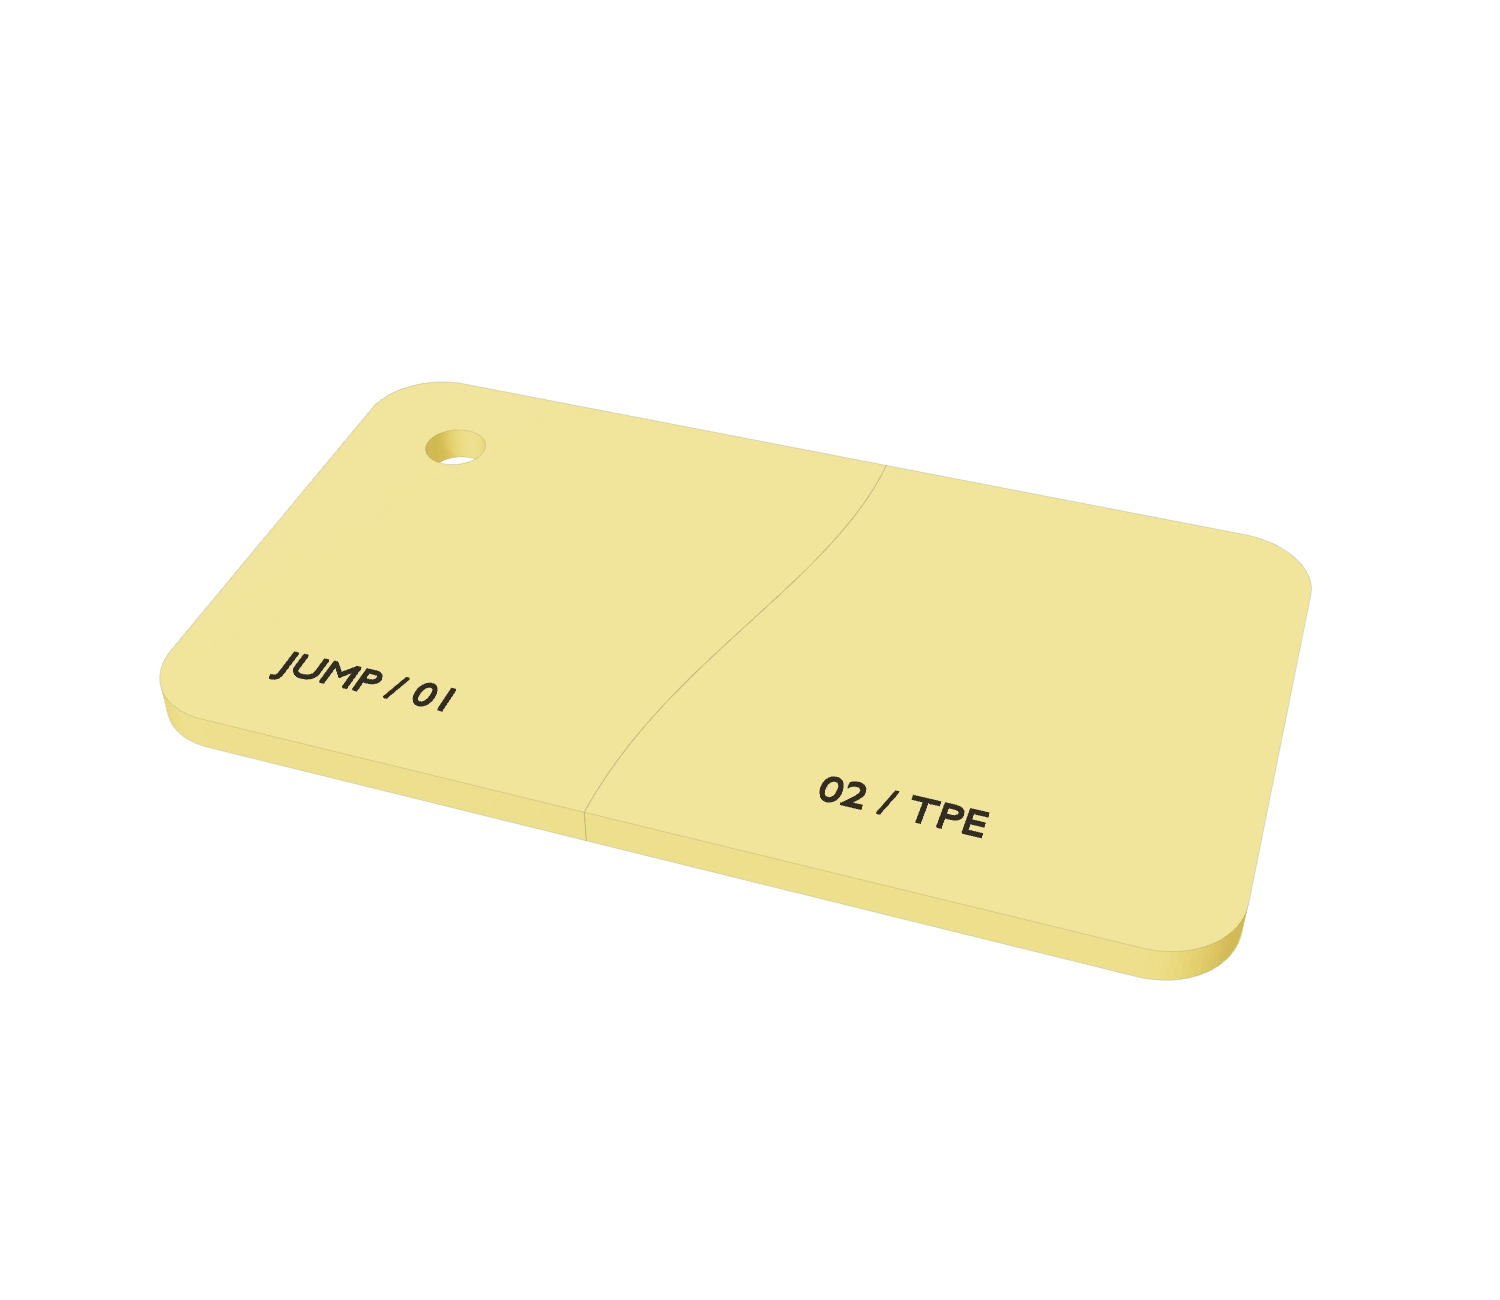
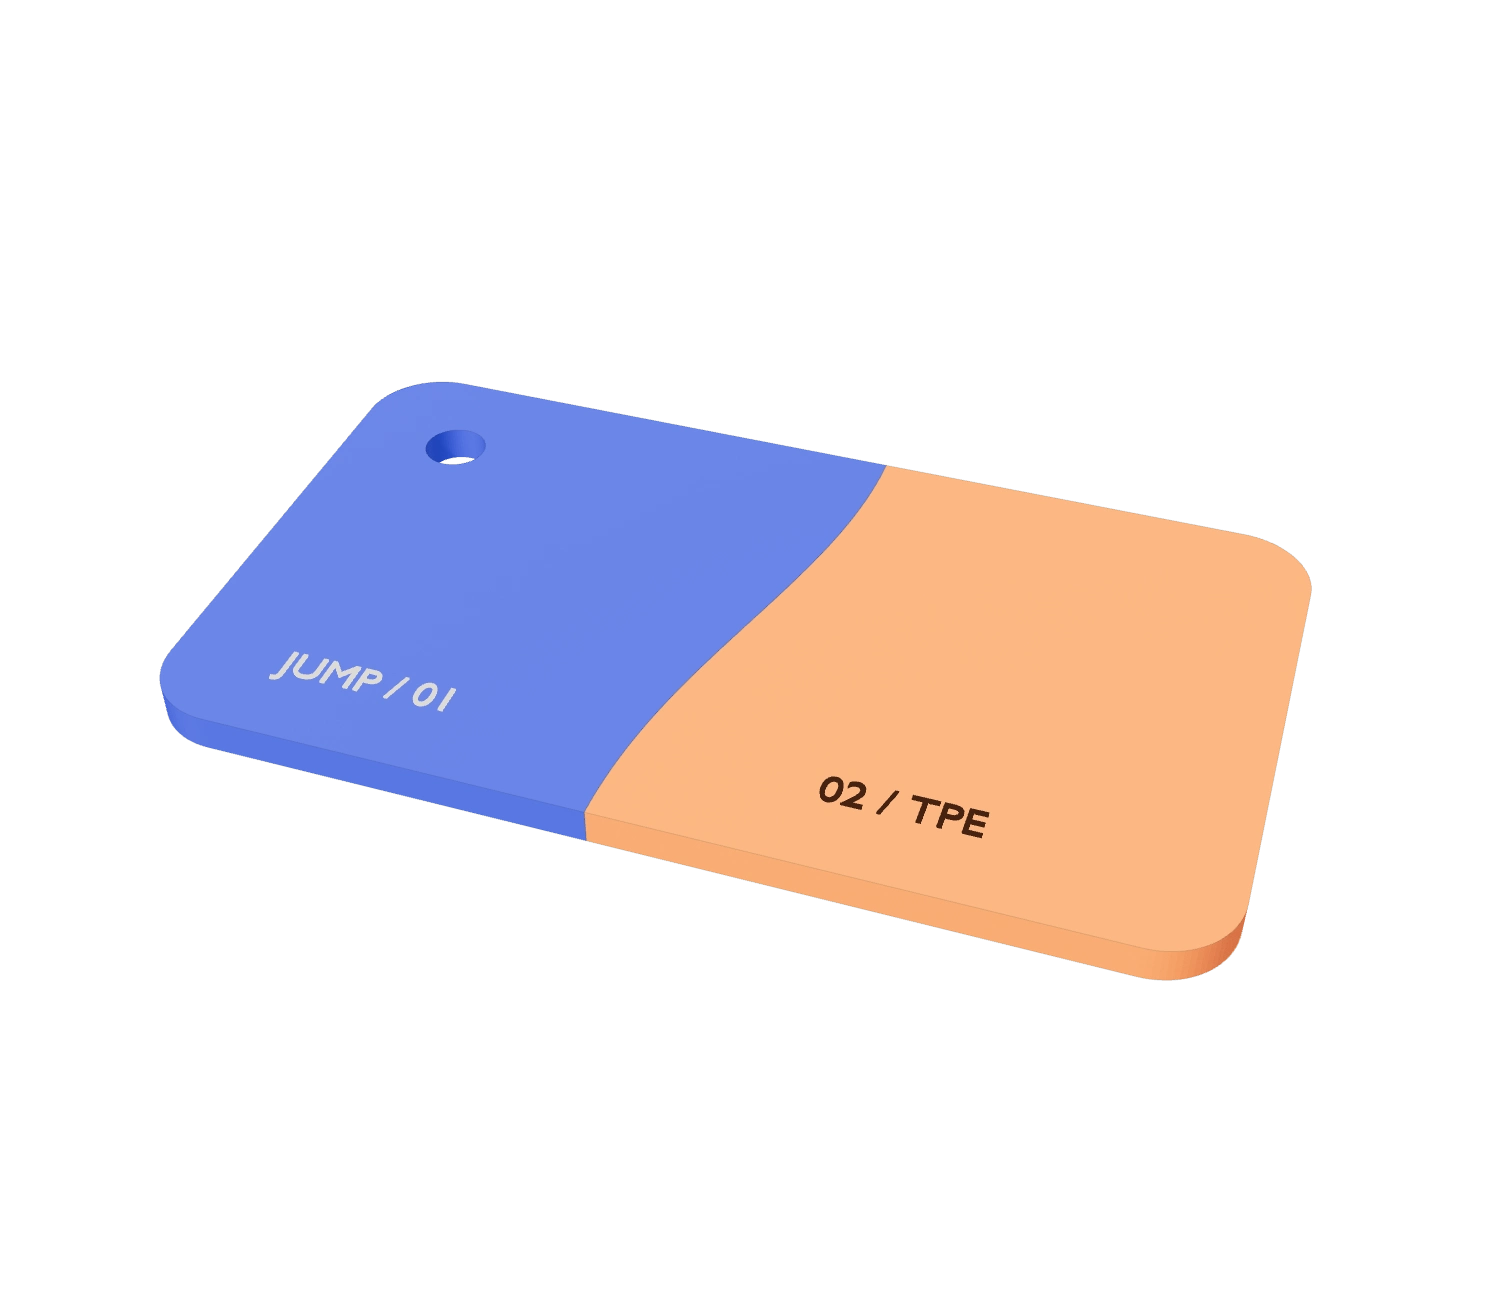 2KTeaching model
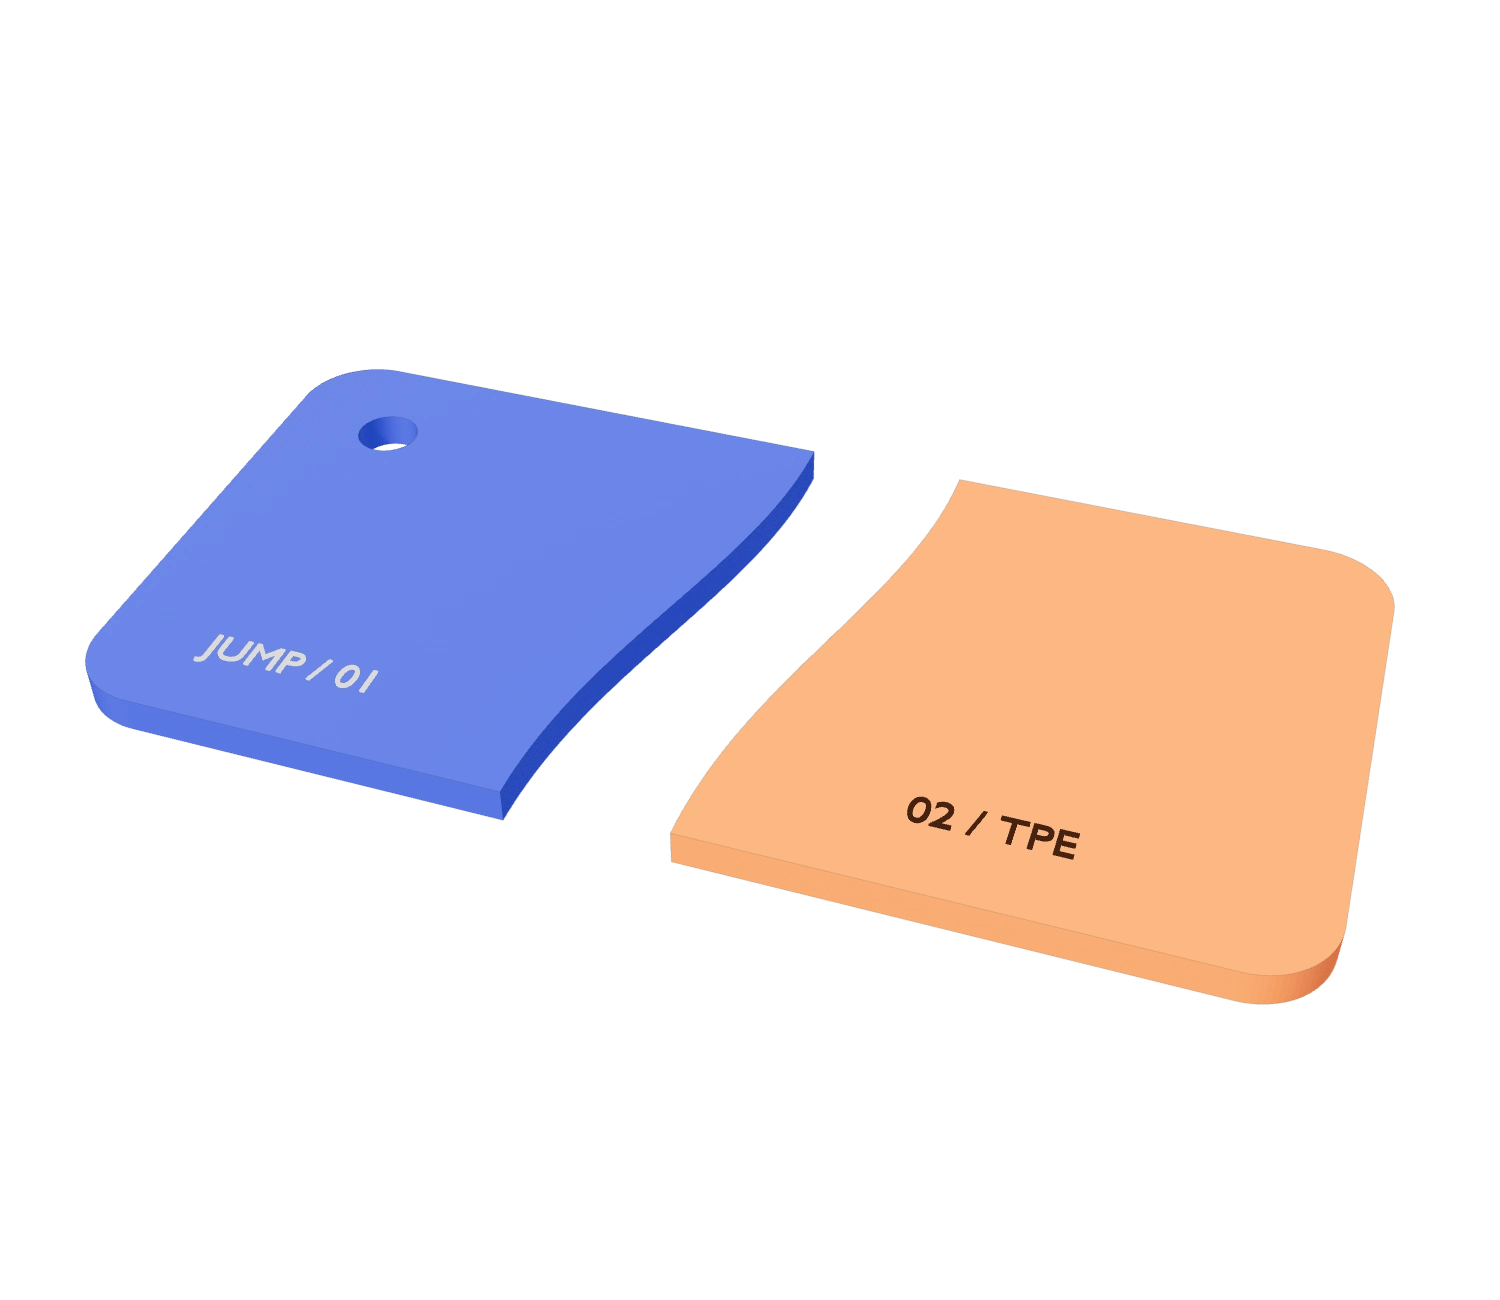
Two solids · One shared boundary
Multi-shot ideas need a tool that can be built, fitted and tried. Take a closer look at the people and workshop behind our moulds.
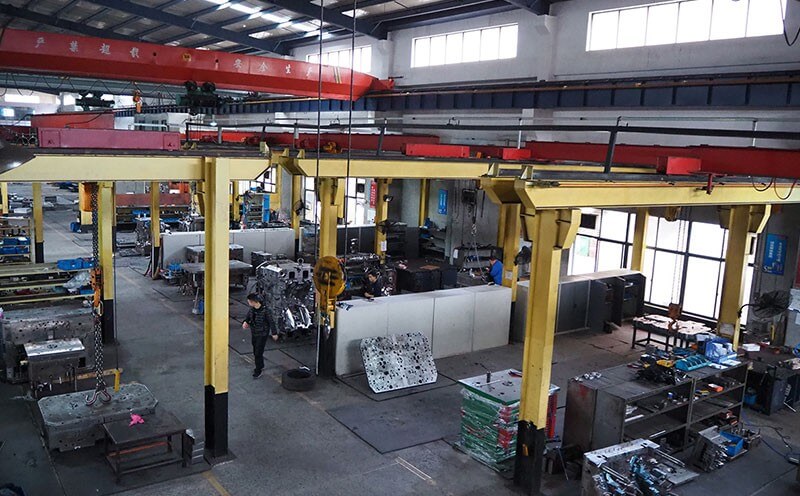
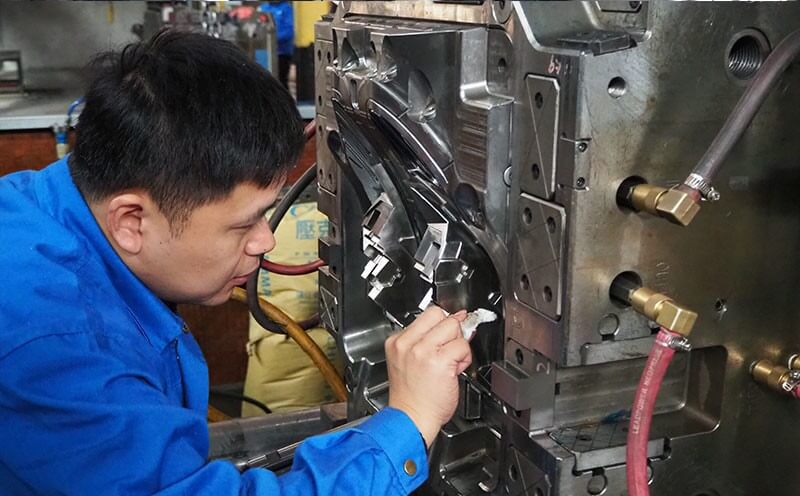
A closer look at mould-surface work: a technician working directly on the cavity, where the shape becomes a physical tool.
Actual tooling photographs from our product catalogue. These lighting examples show part of our work; let’s discuss the requirements of your multi-shot application.
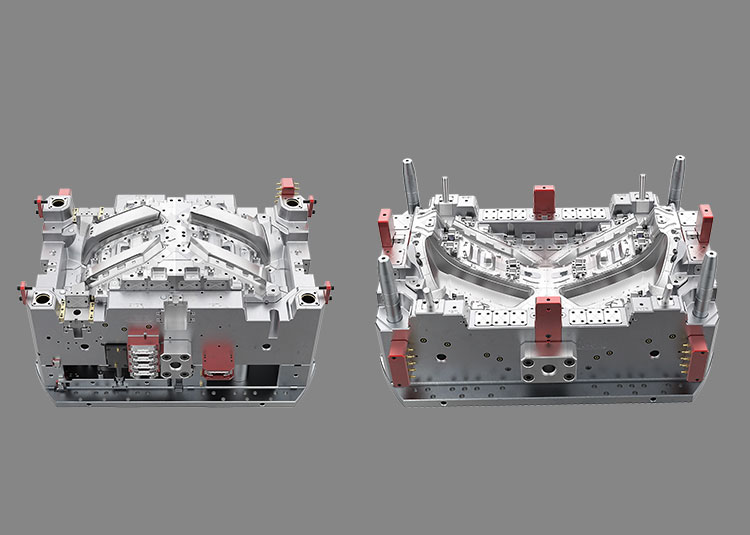 01
01Two-colour tooling
A photographed lamp mould from our double-colour tooling range.
Discuss similar tooling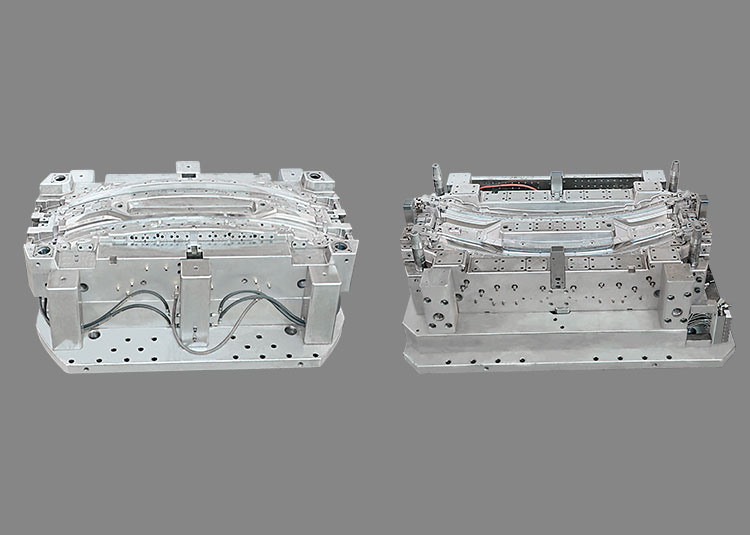 02
02Multi-shot lighting
A tail-lamp tool from our two- and three-colour mould catalogue.
Discuss similar tooling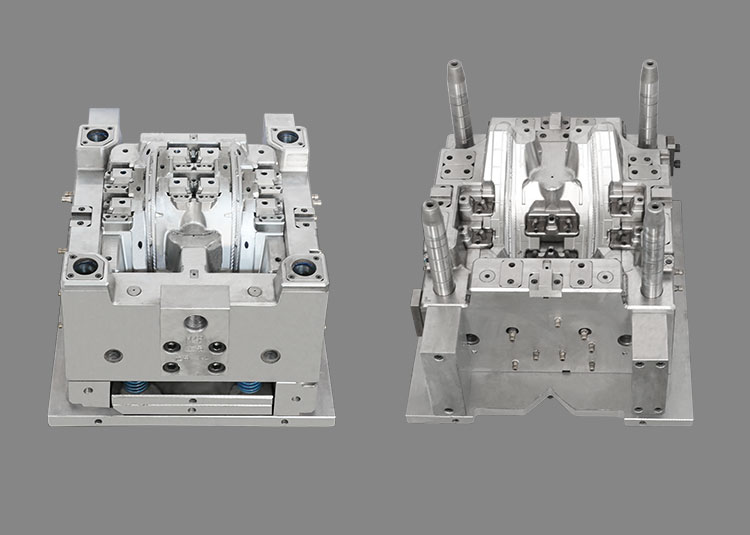 03
03Optical components
A mould from our light-guide and thick-wall product range.
Discuss similar toolingA STEP or IGES file, the materials and your volumes. That’s enough to start.
Method, gates and shut-offs worked out, and the design shared with you.
5-axis machining, EDM and polishing, all in our Huangyan workshop.
Trial on our multi-colour presses. You approve the samples before it ships.
 FILM · 60 S
Our company film, in 60 seconds.
Tell us about your part. Review and submit your enquiry directly to our team.